
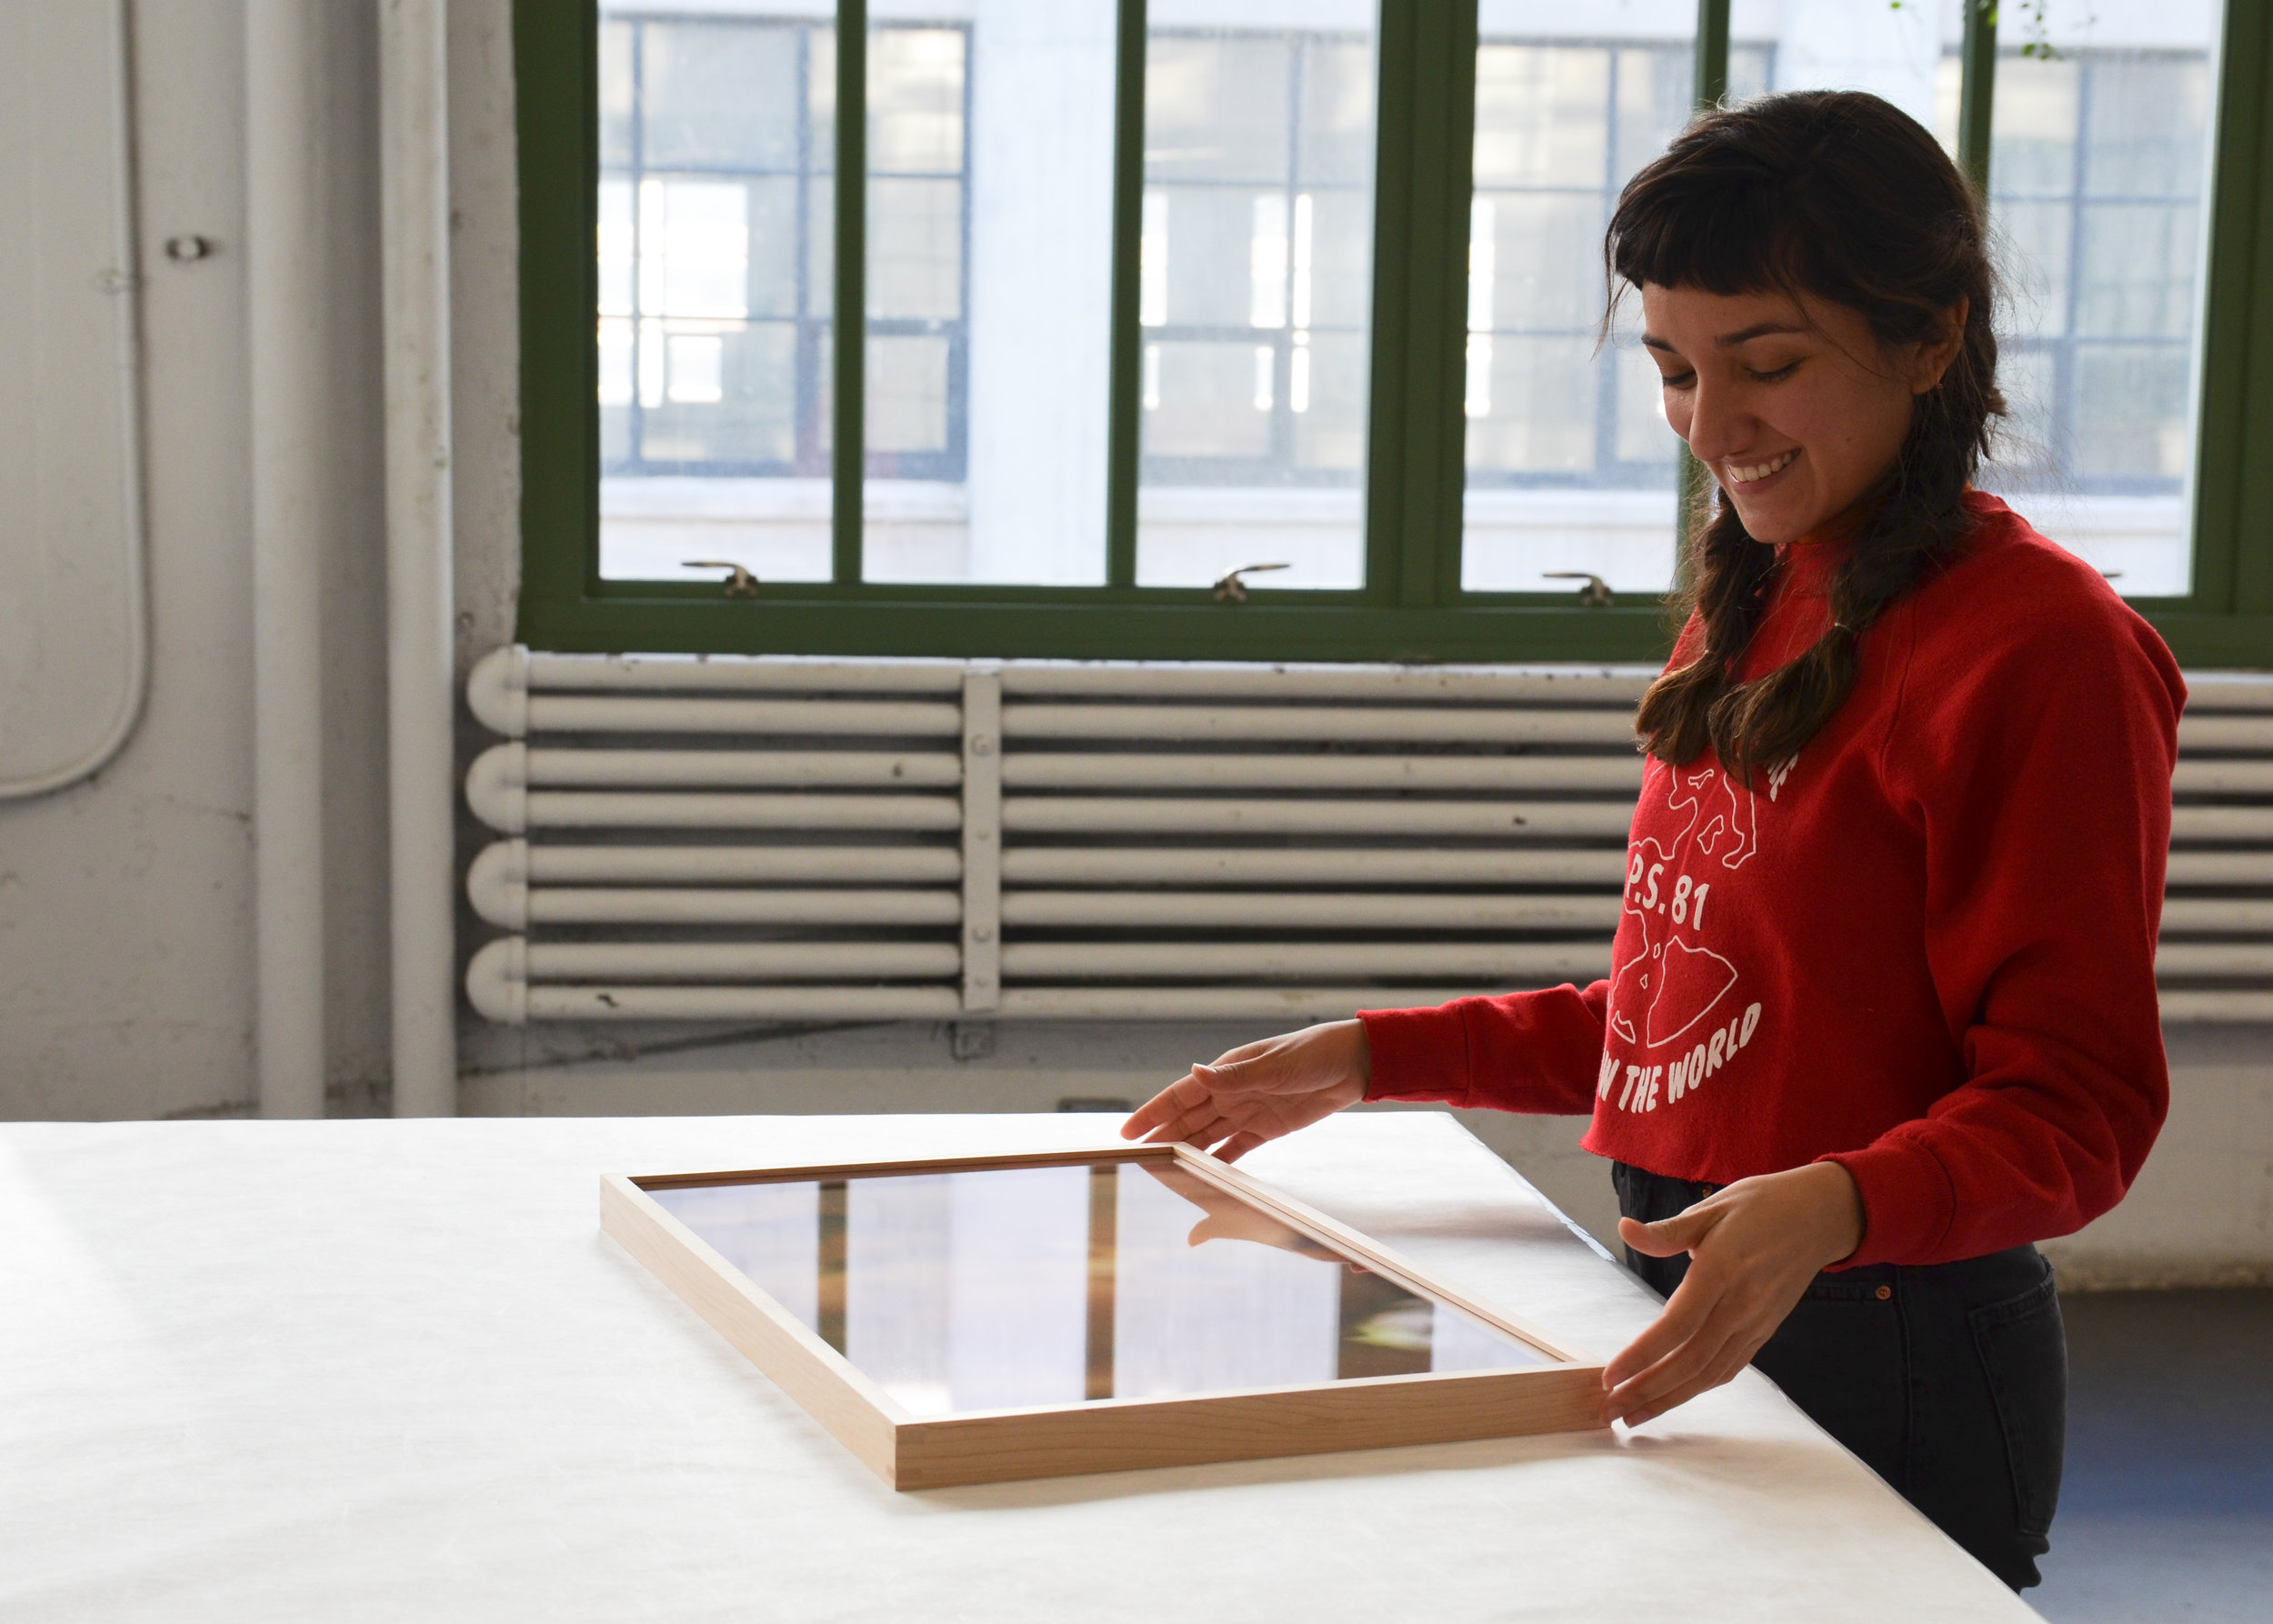
So you got the piece framed, now you just need to hang it on the wall. Below is a quick look at the tools and materials needed for hanging in your home.
First things first, start out with an organized work space. Laying all your tools out in a clear and ordered way will let the rest of the installation go smoothly. In our hanging tool kit we carry a hammer, level, tape measure, blue tape, pencil and paper, hanging hardware, and a Mr. Clean Magic Eraser.
TIPS!
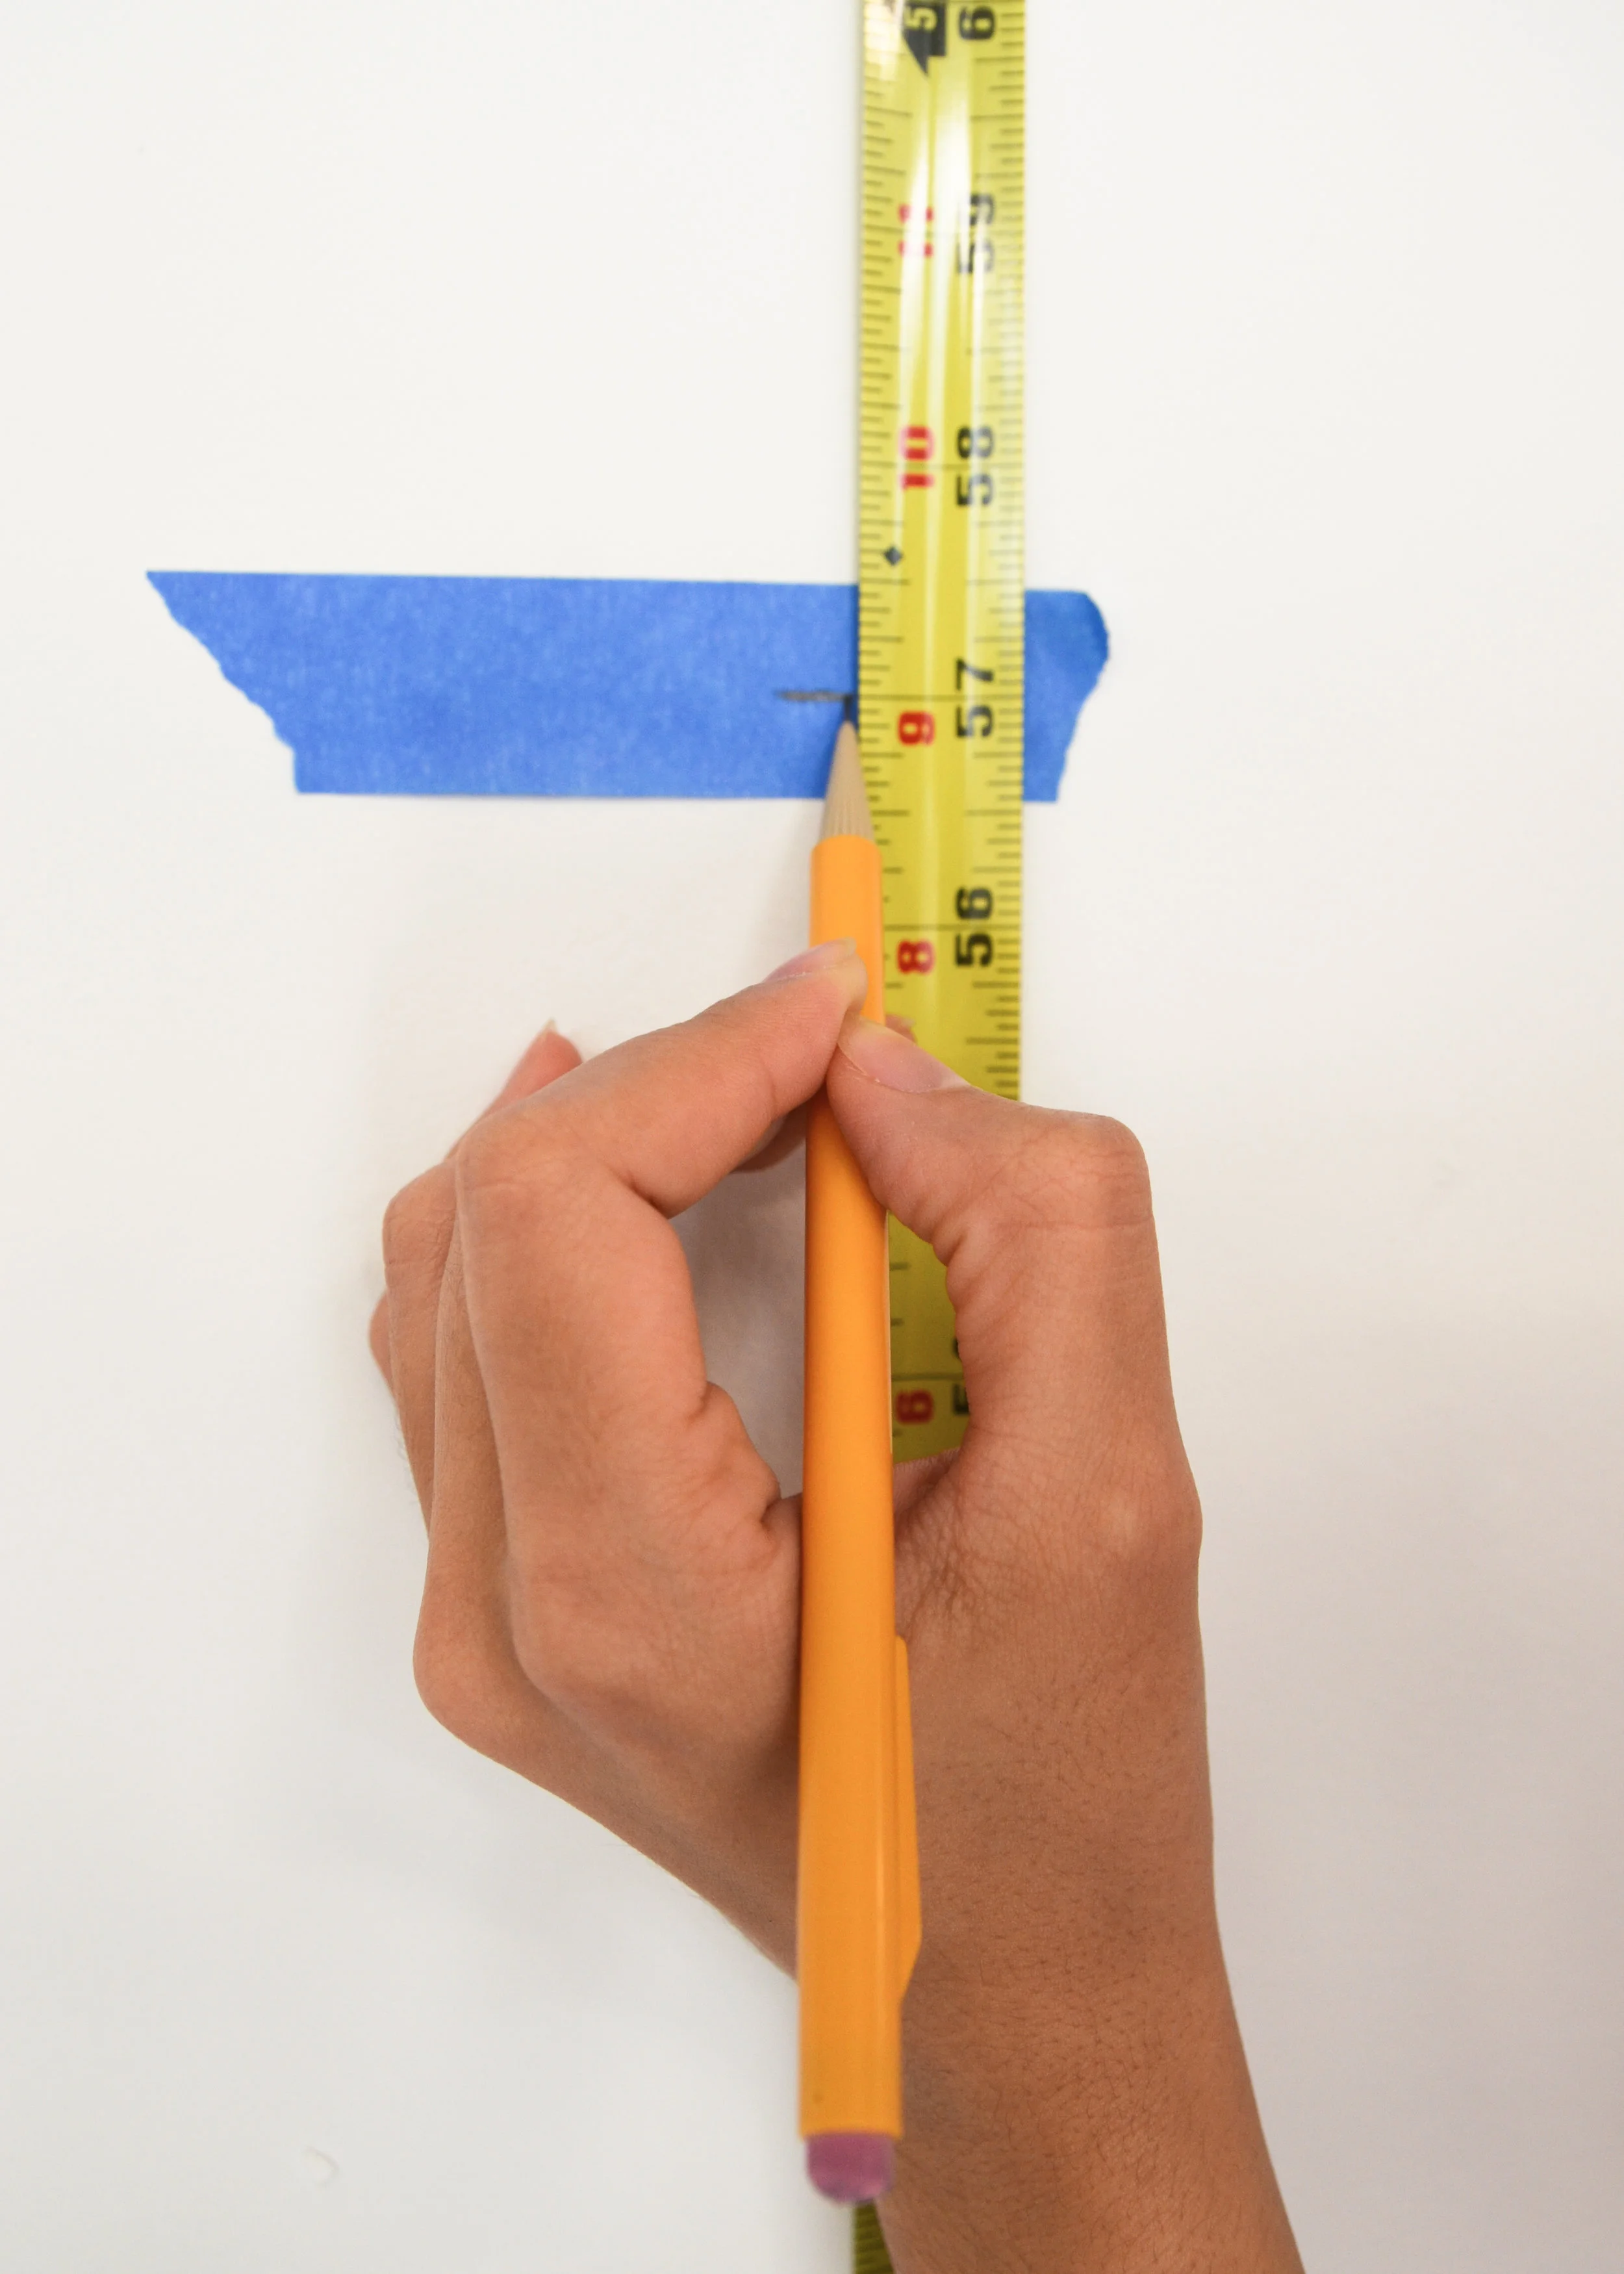
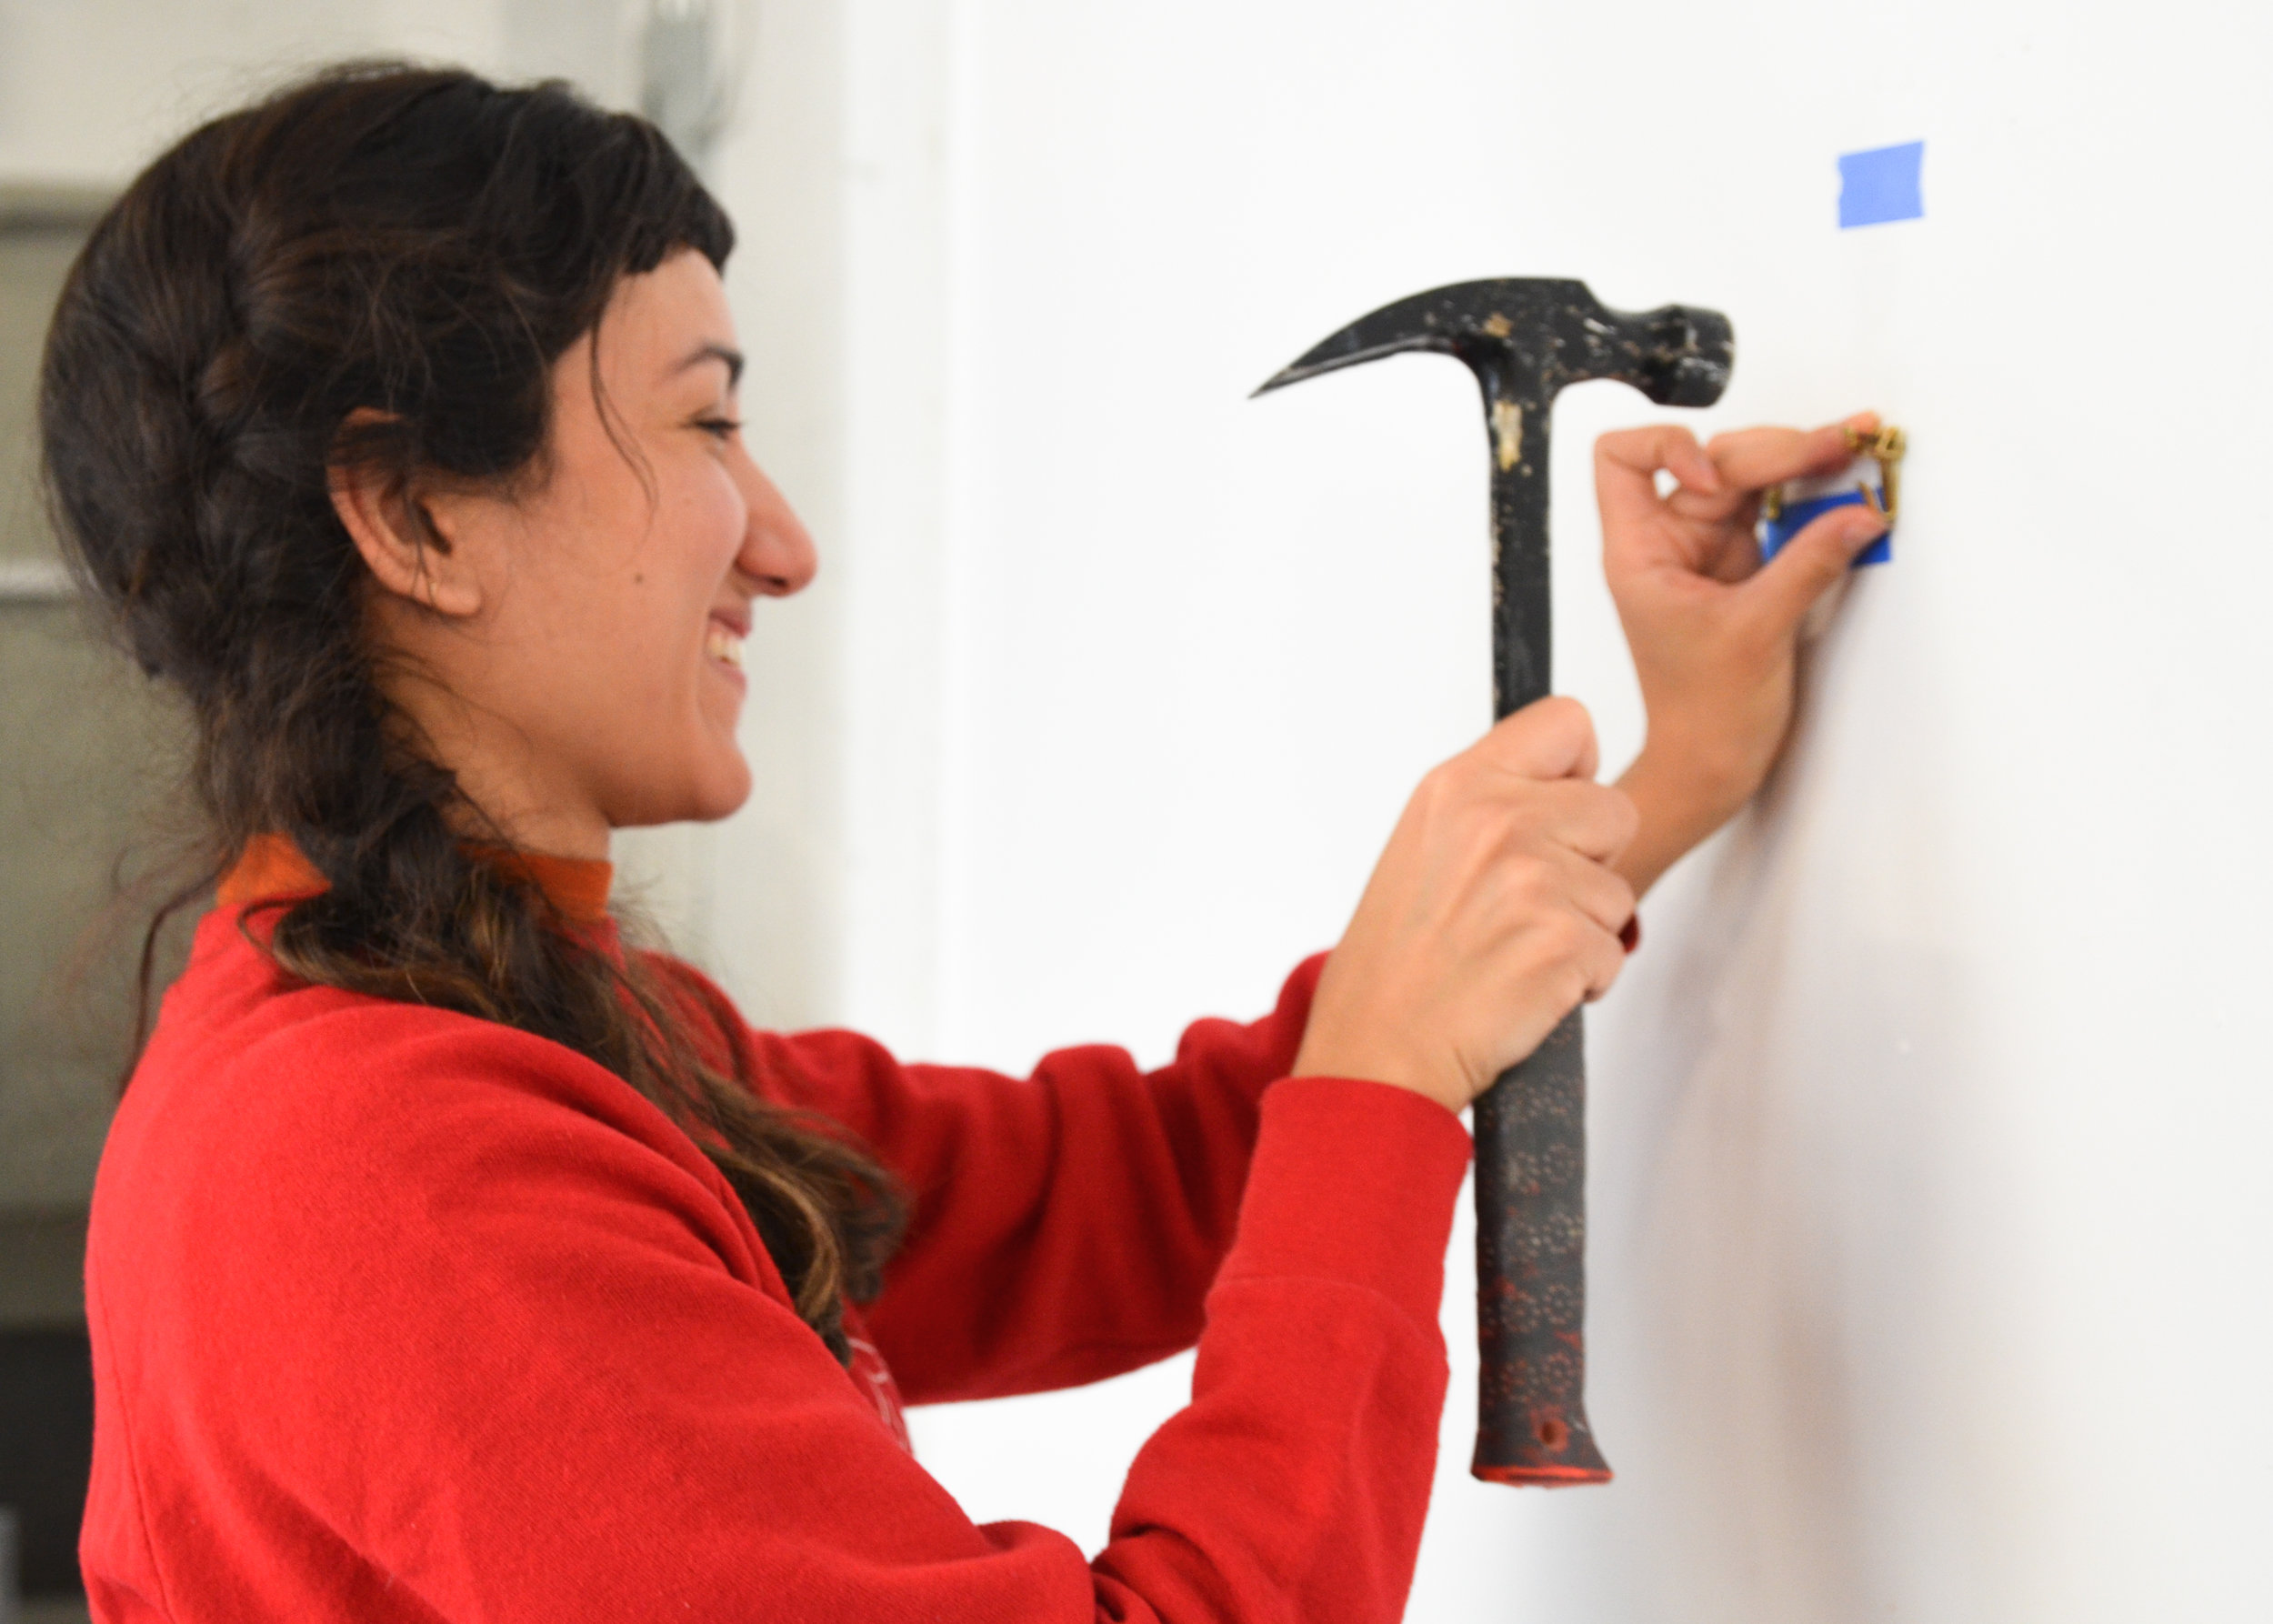
Blue tape will help you make marks on your wall, without causing any damage. I like to place blue tape in the general area and then mark my precise measurements in pencil on top of the tape.
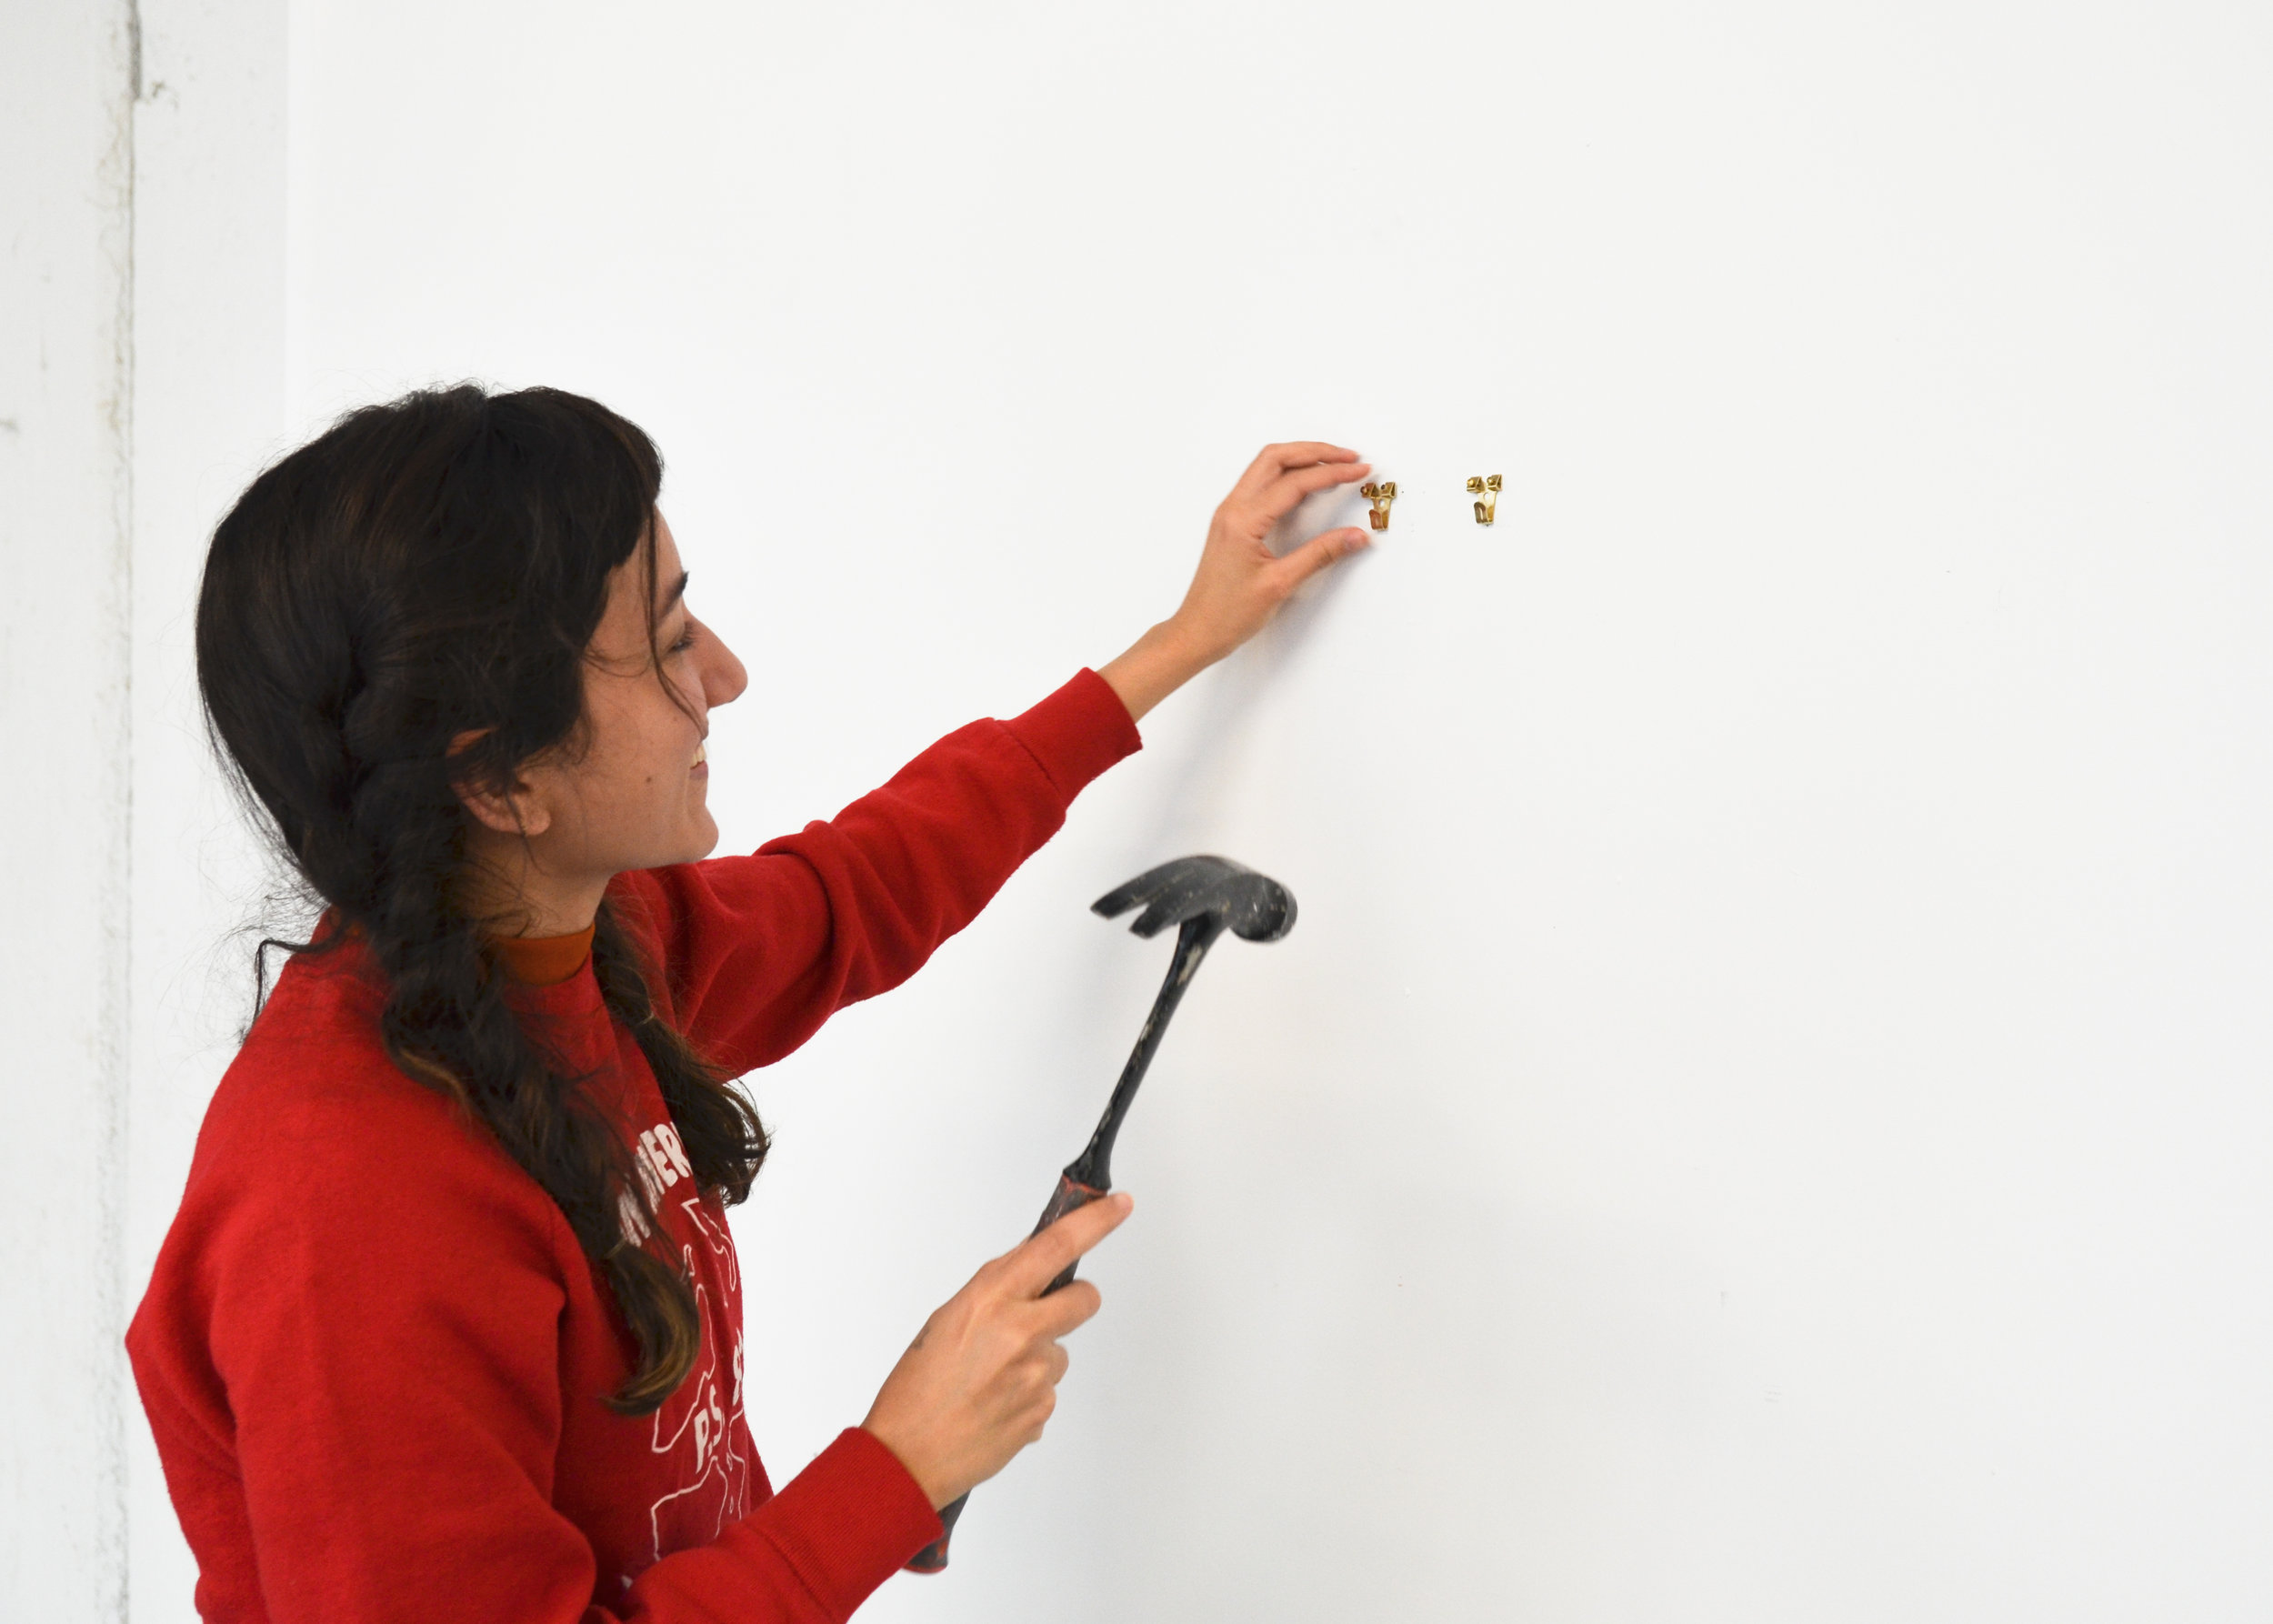
Using two nails instead of one will keep the frame level. Having two level points for the wire to rest on will force the picture to stay straight.
Keep a Mr Clean magic eraser around! They are great for cleaning up walls, especially if you did end up making a mark or two while hanging.

There are two basic ways to find the right height to hang your artwork.
The first method has all center lines at 57”, meaning each artwork is measured, the center point is determined, and hung at 57”. (57” is supposed to represent the average height of the human eye. Interestingly enough, the average center height in Europe is slightly lower.) The second method is the ‘feel it out’ school of thought, hanging artworks at heights that ‘look good’ without going by any type of rule. In both cases, you want to be efficient with your number of holes, i.e. no more than two holes for two nails.
Method 1: Center Lines at 57"
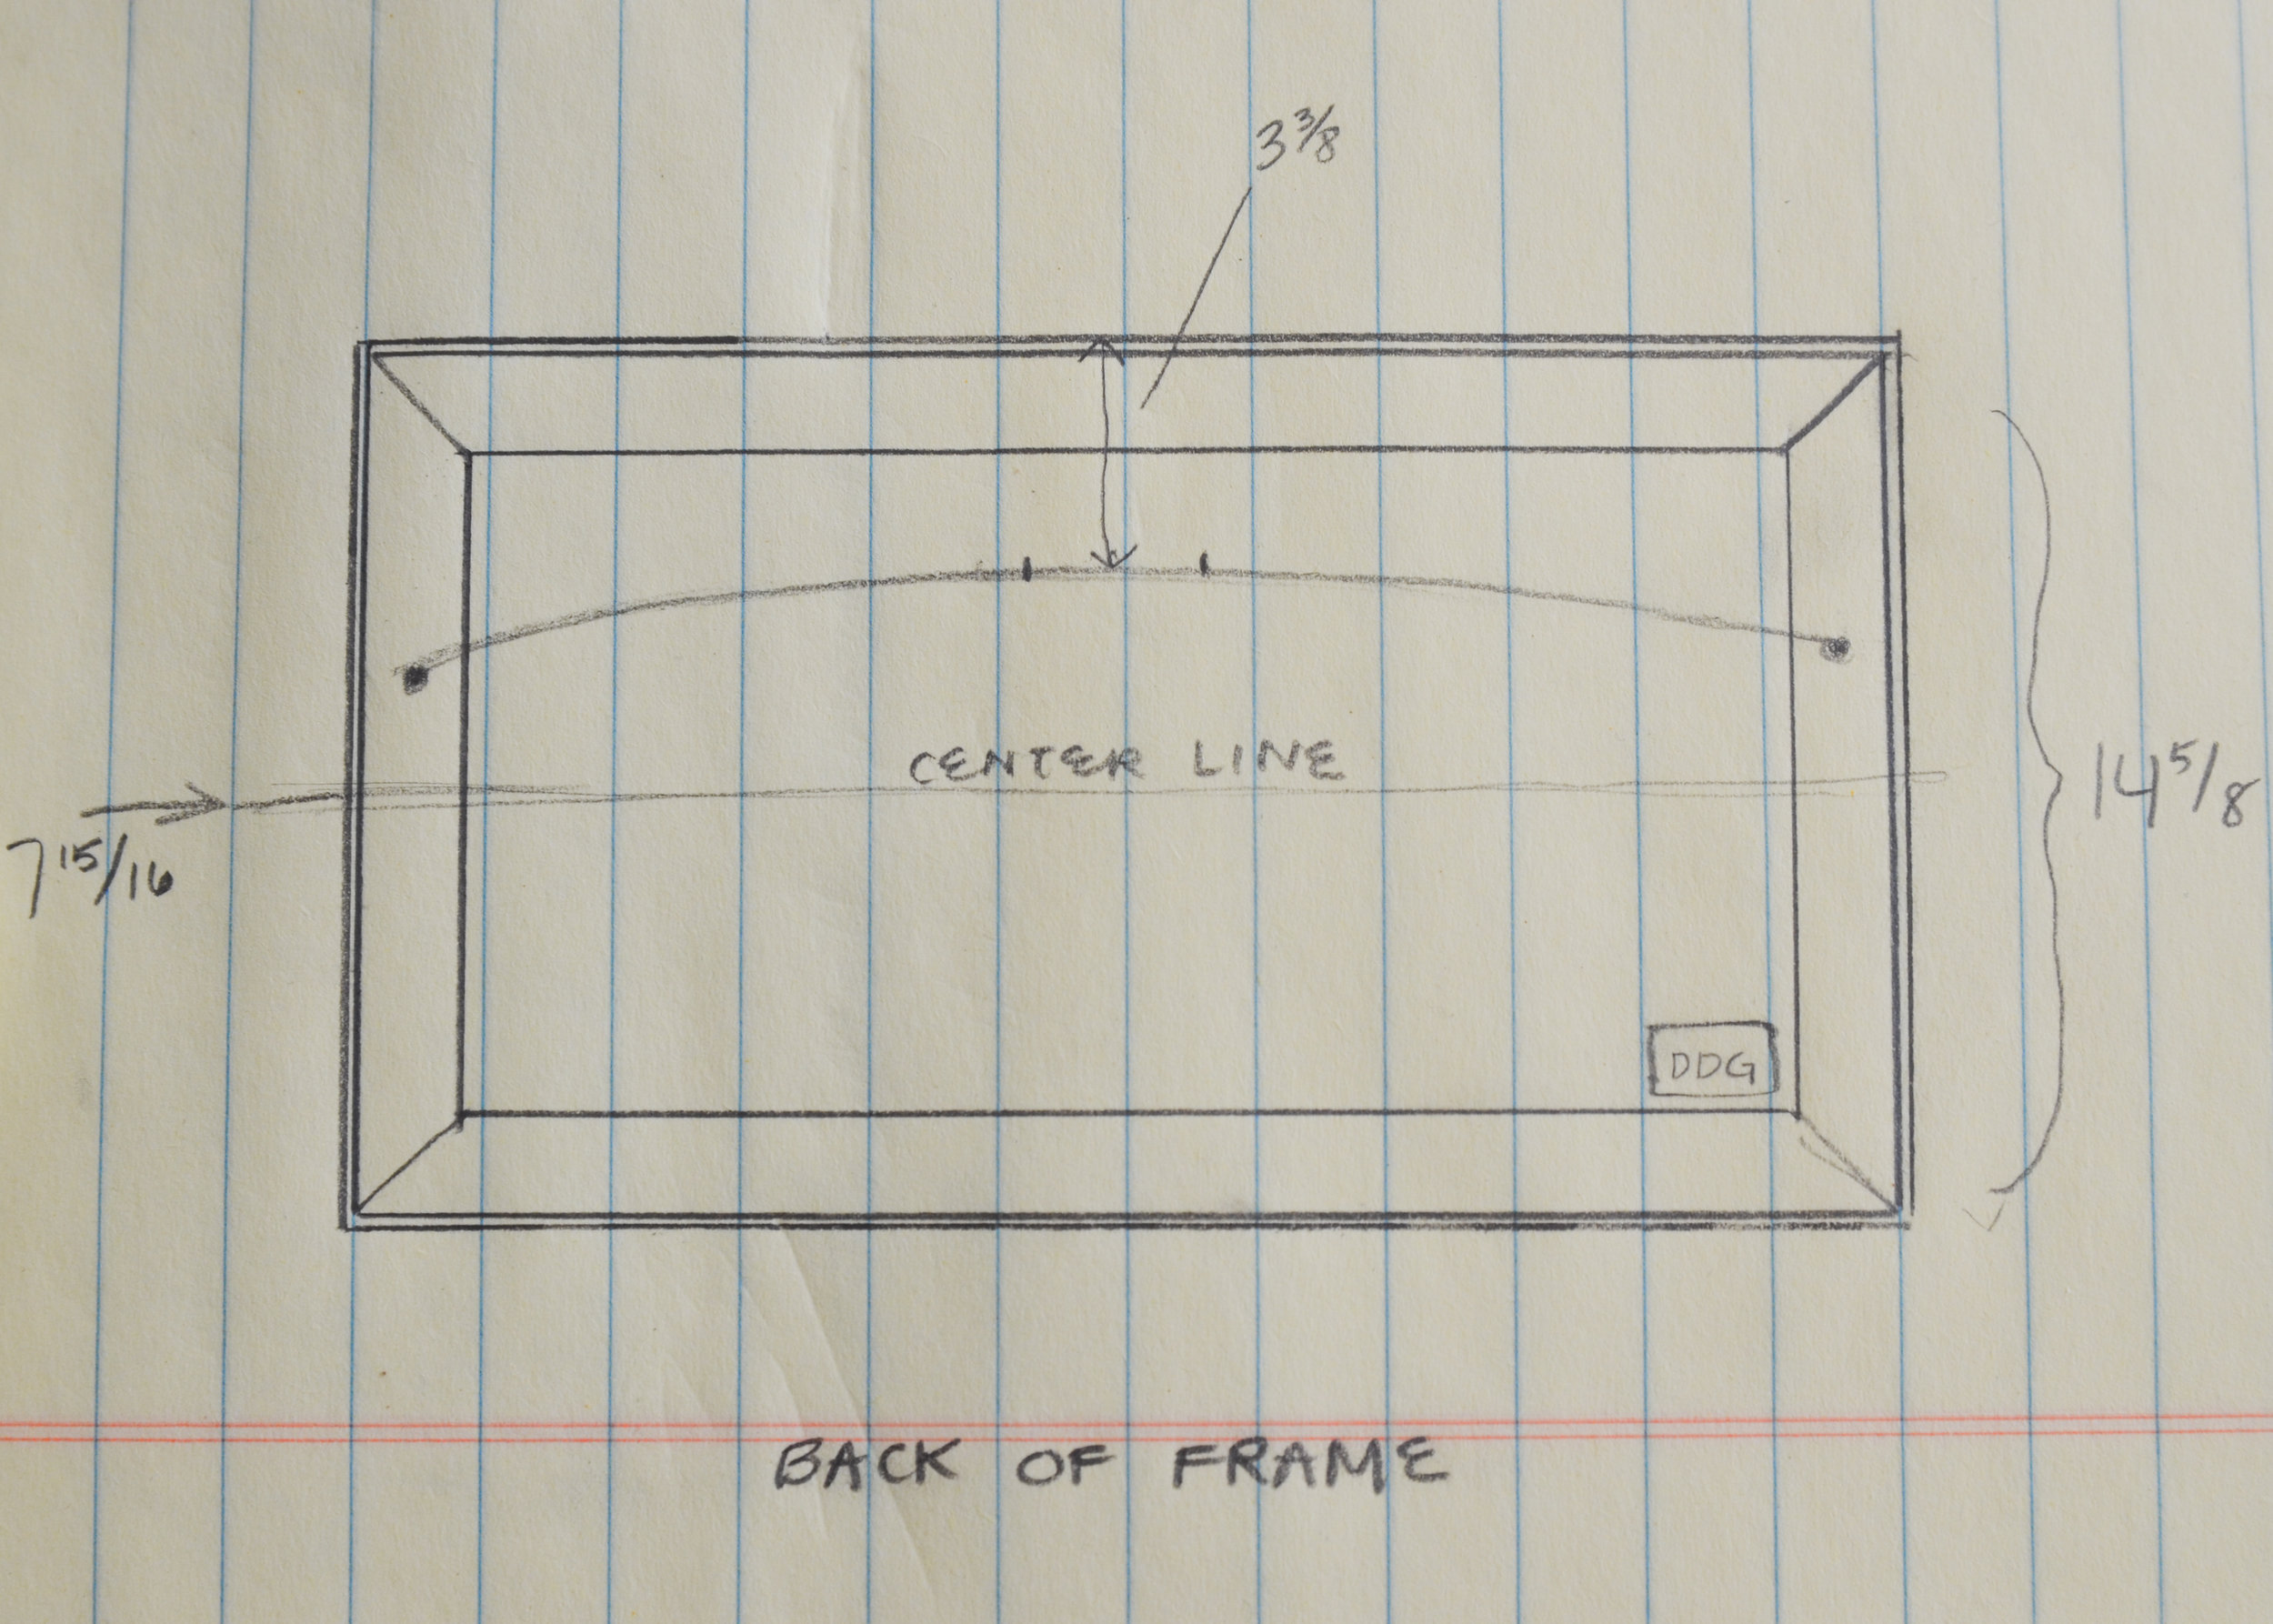
We'll start off by going through the constant center line method. To begin, take two measurements: the height of the frame and the distance from the wire to the top. I like to make a small drawing diagram of my measurements. It’s helpful to see the math and measurements on paper.
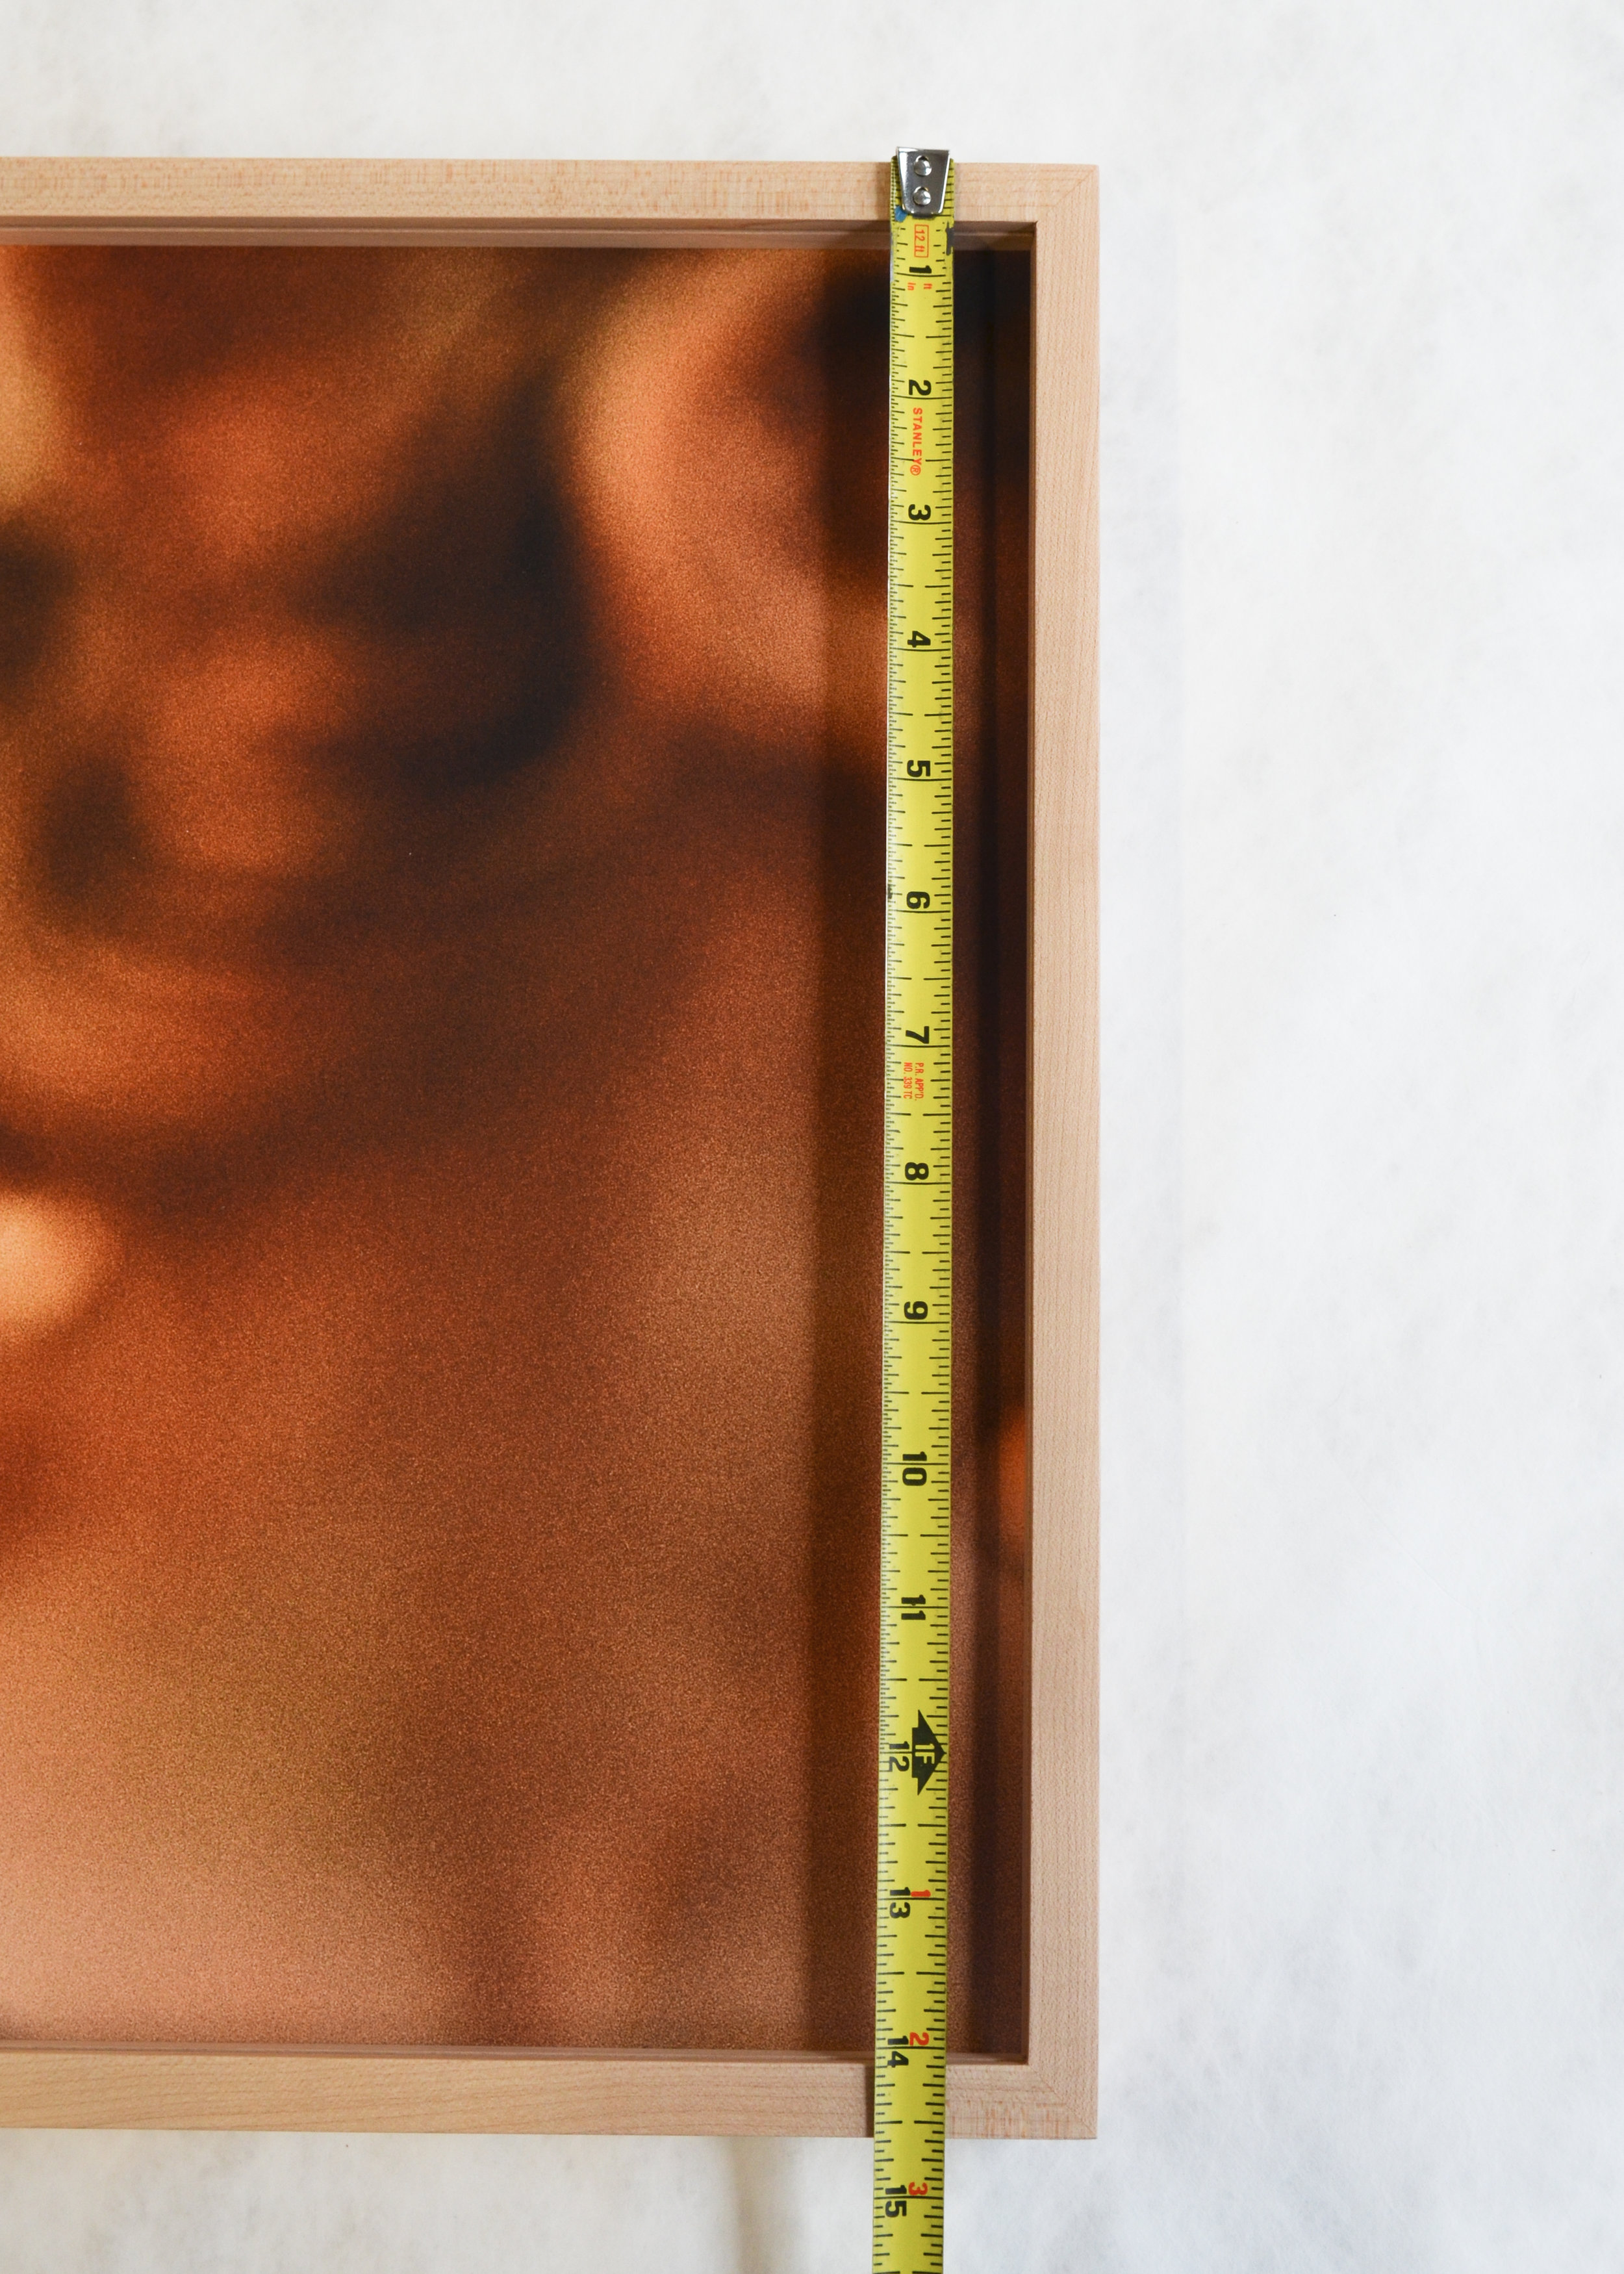
With one hand, pull the wire taught with two fingers about 3” to 4” apart, and then measure. This way, you will be getting the proper dimension for wire height when it is hanging on two hooks.

After we take measurements, we are going to want to figure out the center of the artwork. Second, we are going to find out the distance of the wire from the center line. With some simple algebra, we can determine the height to hang the artwork.

Next, we’re going to move over to the wall. Using a measuring tape, mark with blue tape first, then with pencil, 57” from the ground.

Then, we're going to measure up from the center mark we just made and plot out the wire height. Again, I like to mark out rough measurements with blue tape and then with pencil, that way I don't mess up the wall.

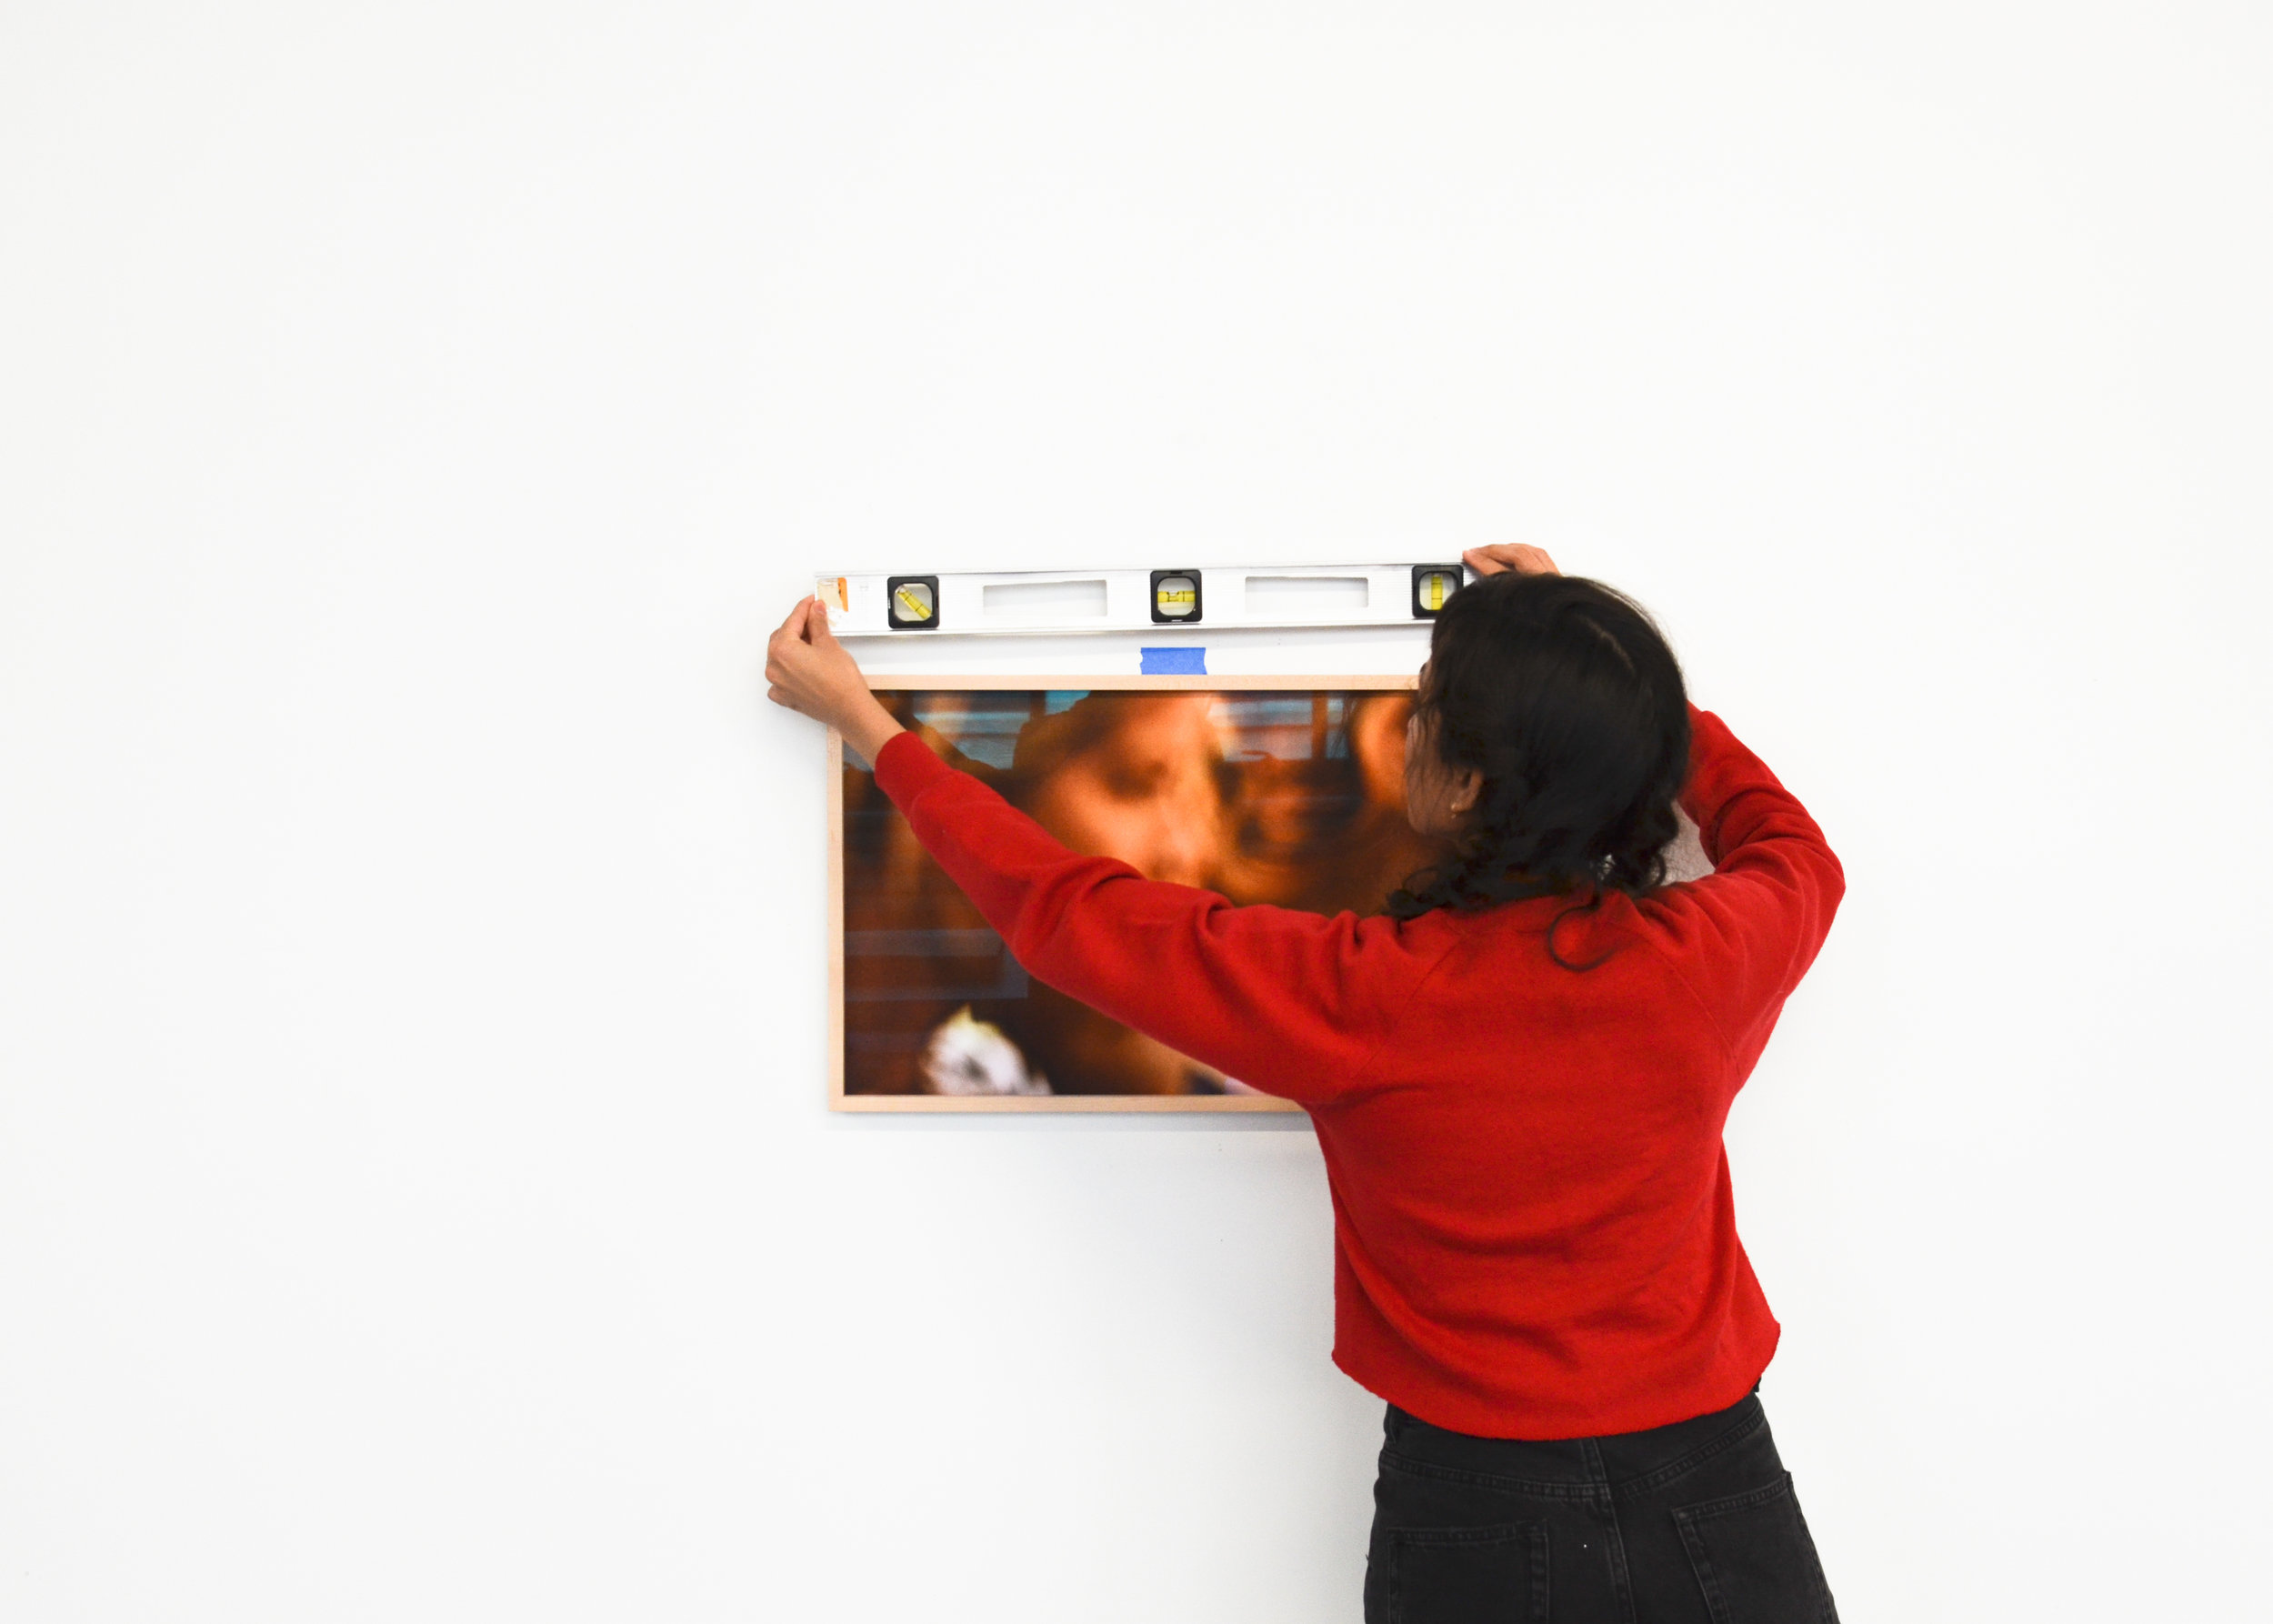
Take out the level and adjust it straight.

Make two points equidistant from the wire height mark, usually about 3” to 4” (the same distance between our fingers when we made the wire taught).

Now the fun part, get out the hammer! Carefully, place your hook and nail on the wall, so the bottom of the hook hits one of the wire height lines. Carefully tap the nail into place. Repeat for the second nail and hook. Make sure the bottom of the hooks remain level. Remove all blue tape.
Holding the wire taught with your hands, gently slip the artwork over the two hooks.

Double check with the level again to make sure its straight, and there you go! Your newly framed piece is hung perfectly.

Method 2: Feel It Out
For the second method of determining height, the ‘feel it out’ method, we recommend two people working as a team. Person A will hold the artwork up against the wall while person B determines what ‘looks good’. Once a height is decided upon, person B will place blue tape on the wall, just above the top of the frame.

Measure the distance from the top of the frame to the wire, using the two-finger pull. Now, go back to the wall and measure that distance down from the blue tape line.

Using the level, make a straight line on blue tape, and then mark two points equidistant from each other, about 3” to 4” apart. These marks, or the wire height lines, will be the location of the hooks.

Just as before, hammer the nails and hooks into the wall. Again, make sure the bottom of the hooks line up with you marks.
Carefully slip the wire onto both hooks.

Double check to make sure the frame is level one last time.
Success!
