
A frame is always the safest way to store your artwork. But how do you take care of your collection when it's not framed? Here is a simple step by step way to safely wrap your artwork when traveling to and from the gallery, your home, and to the framers.
We'll be using materials that are easy to come by and perfect for quick transportation. However, please note that we'd suggest using only pH neutral materials when storing artwork longer that a month. We would also not suggest this method for artwork being shipped via mail carrier service.
Step 1) Lay your print/artwork on a clean and dry surface, free of any debris. If the surface allows for it, we like to quickly rub down non-porous areas with isopropyl alcohol about 60 seconds prior to placing the artwork down. Just make sure it's dry before setting anything down!

Step 2) Wrap the artwork in a pH neutral glassine or interleaving. Fold the glassine to completely cover the face of the piece. Be careful not to crease the artwork when creasing the glassine.
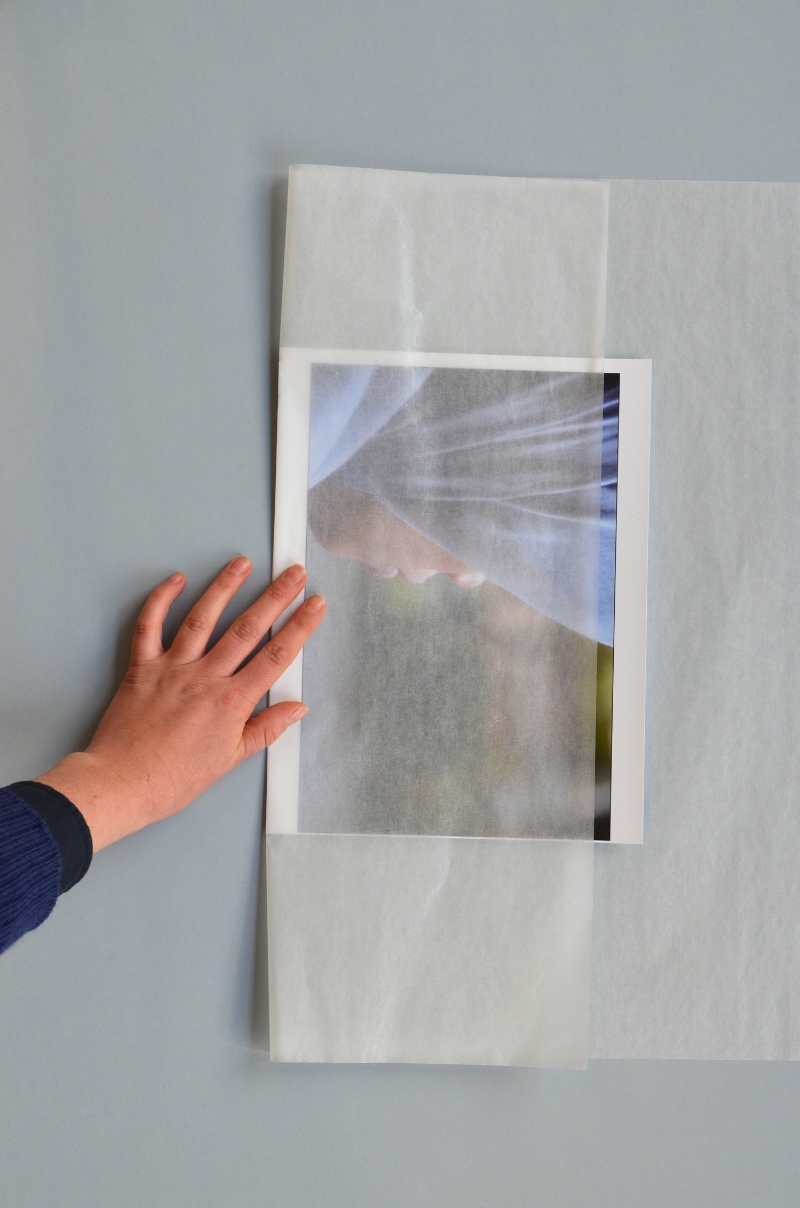
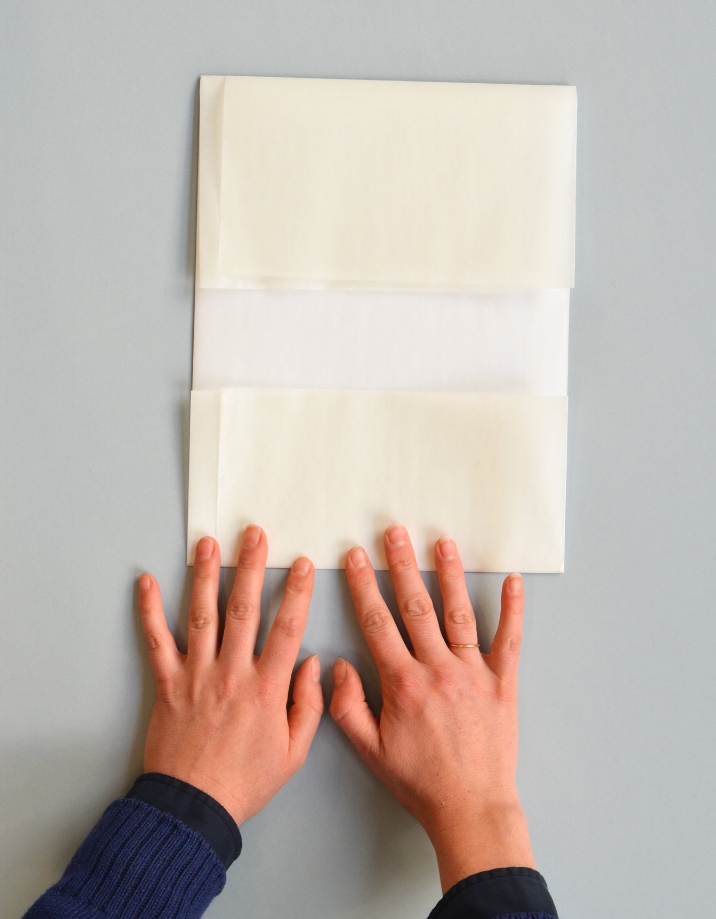
Step 3) Flip the artwork over and crease the opposite ends of the glassine. Again, make sure not to crease the artwork. Once finished with this step, the artwork should be snug within the folded 'envelope'.
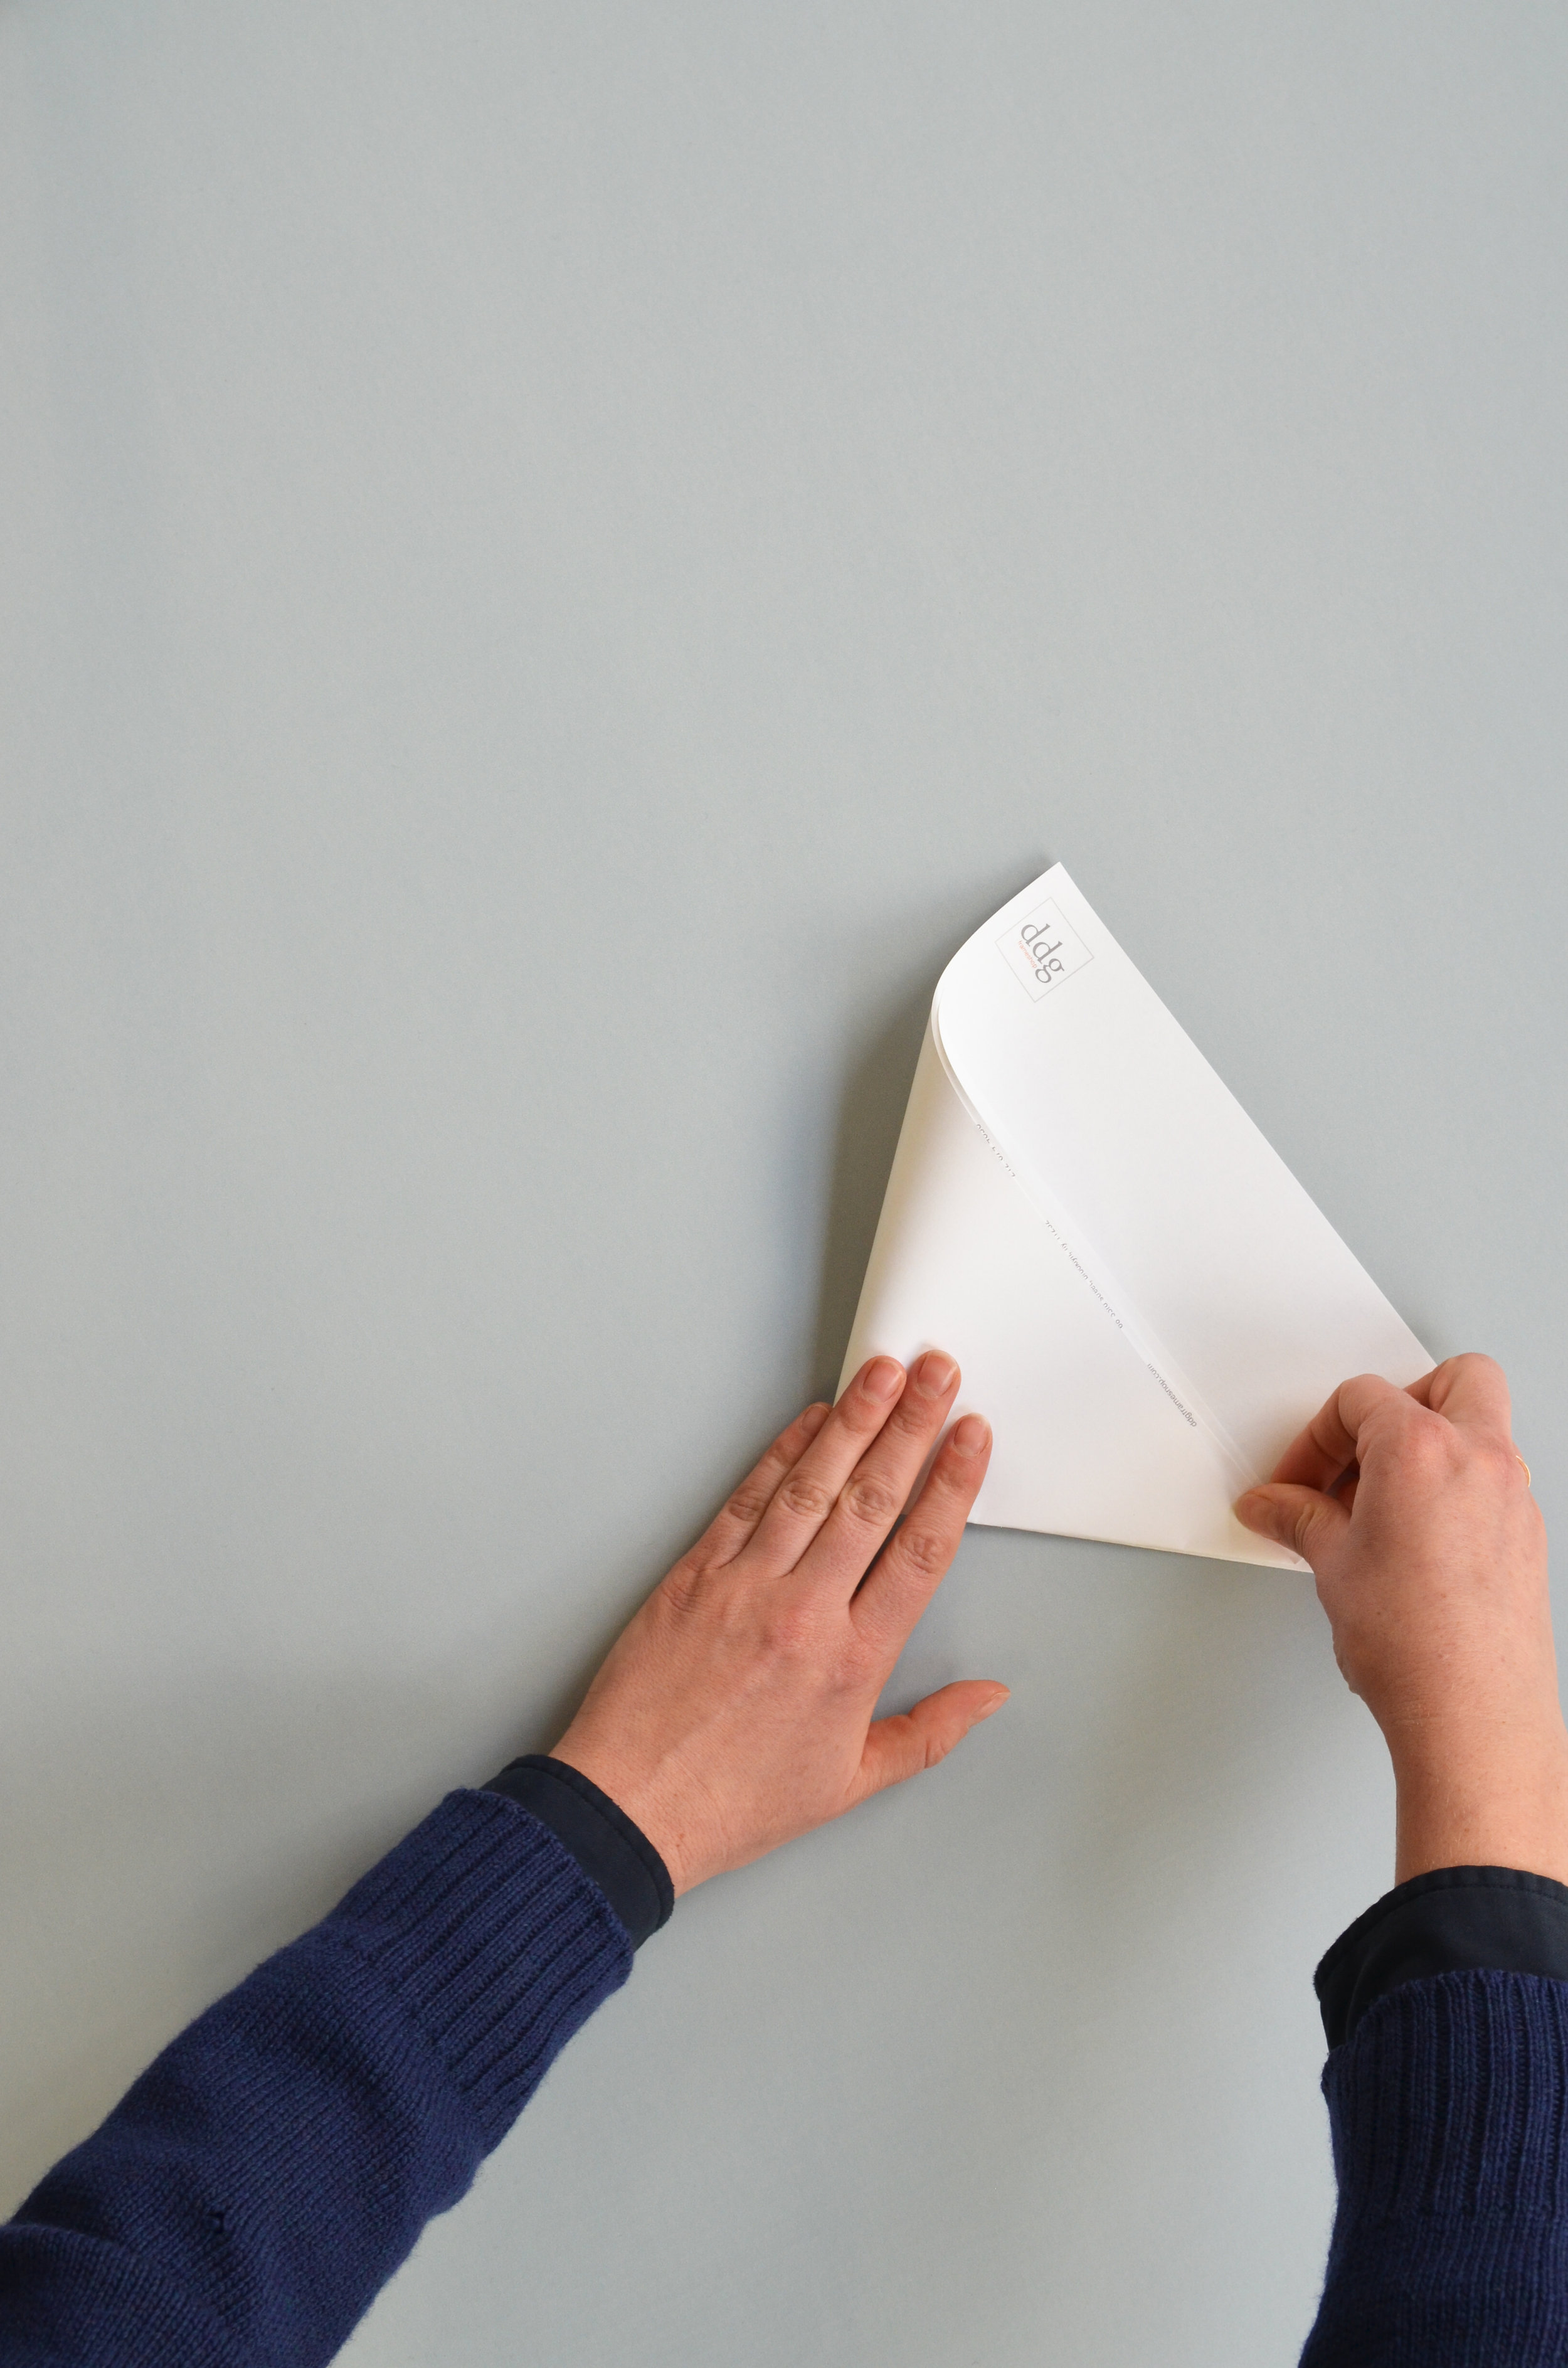
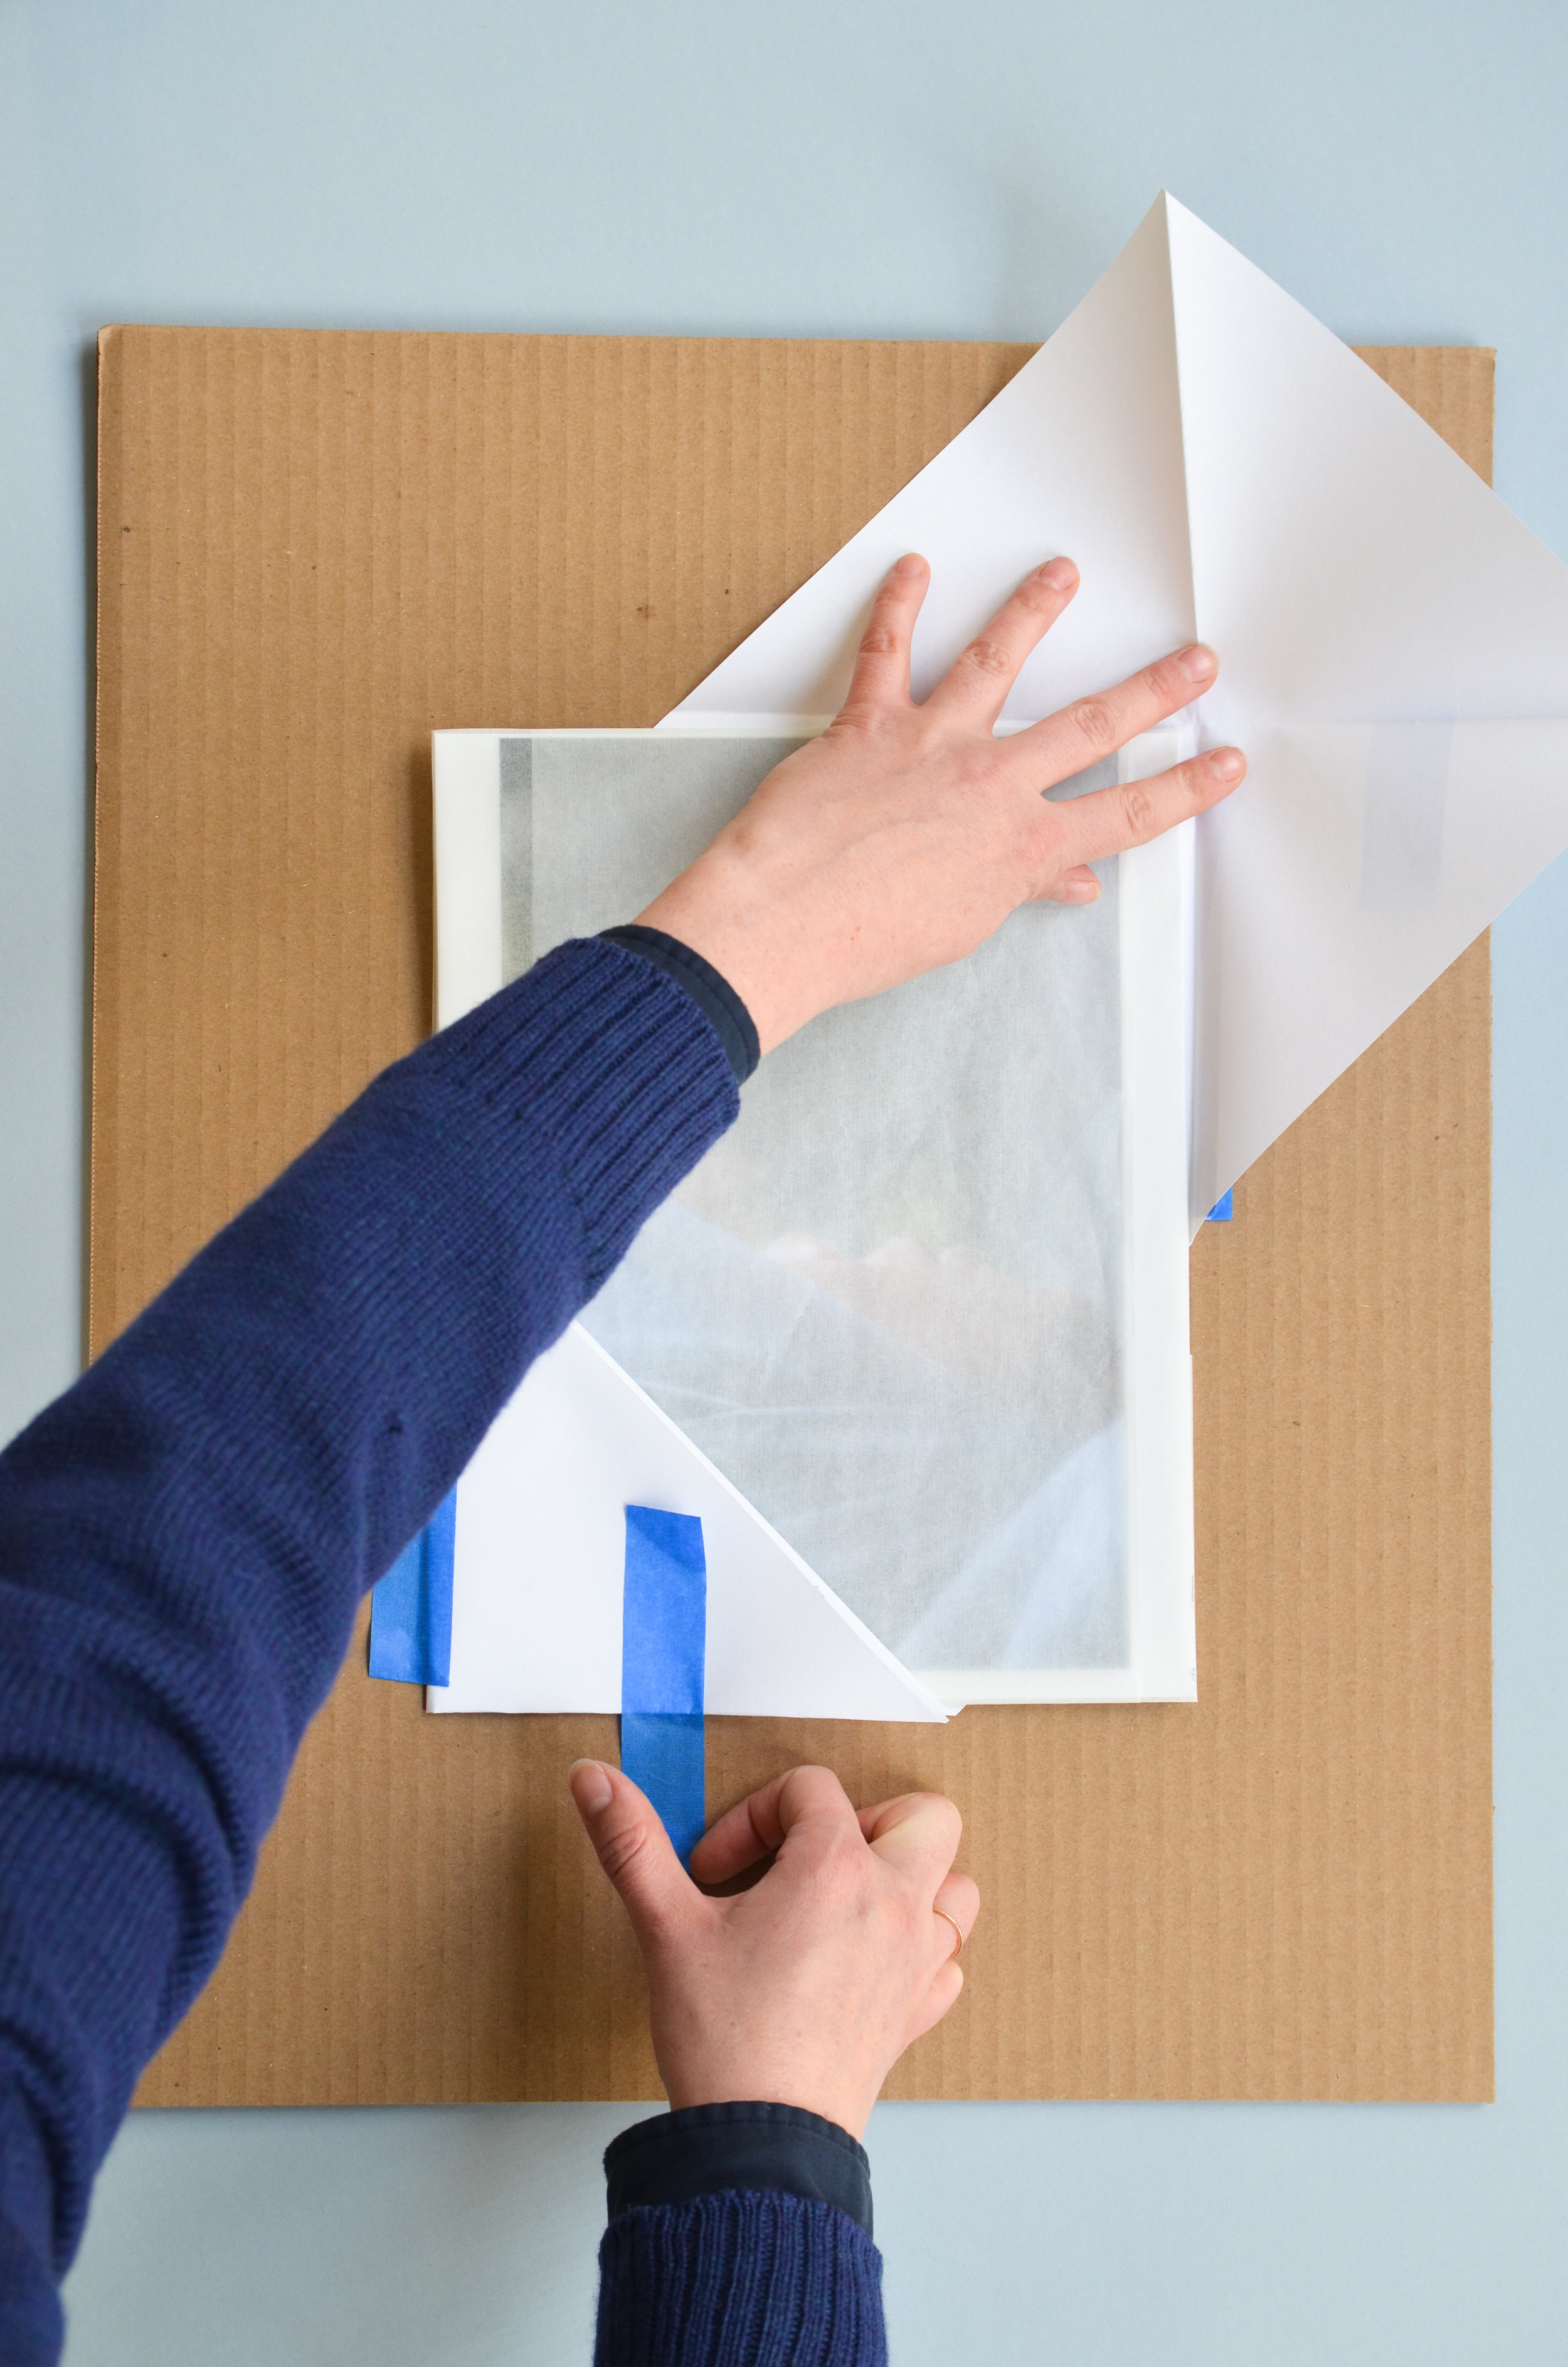
Step 4) Next, we are ready to make corners! Corners allow us to secure the artwork into place while keeping all tape and adhesives away from the piece. Take a sheet of blank paper (8 1/2" x 11" computer paper works great), and fold one short edge over to line up with one long edge.

Step 5) Fold the triangle you just made over again, making another small triangle.
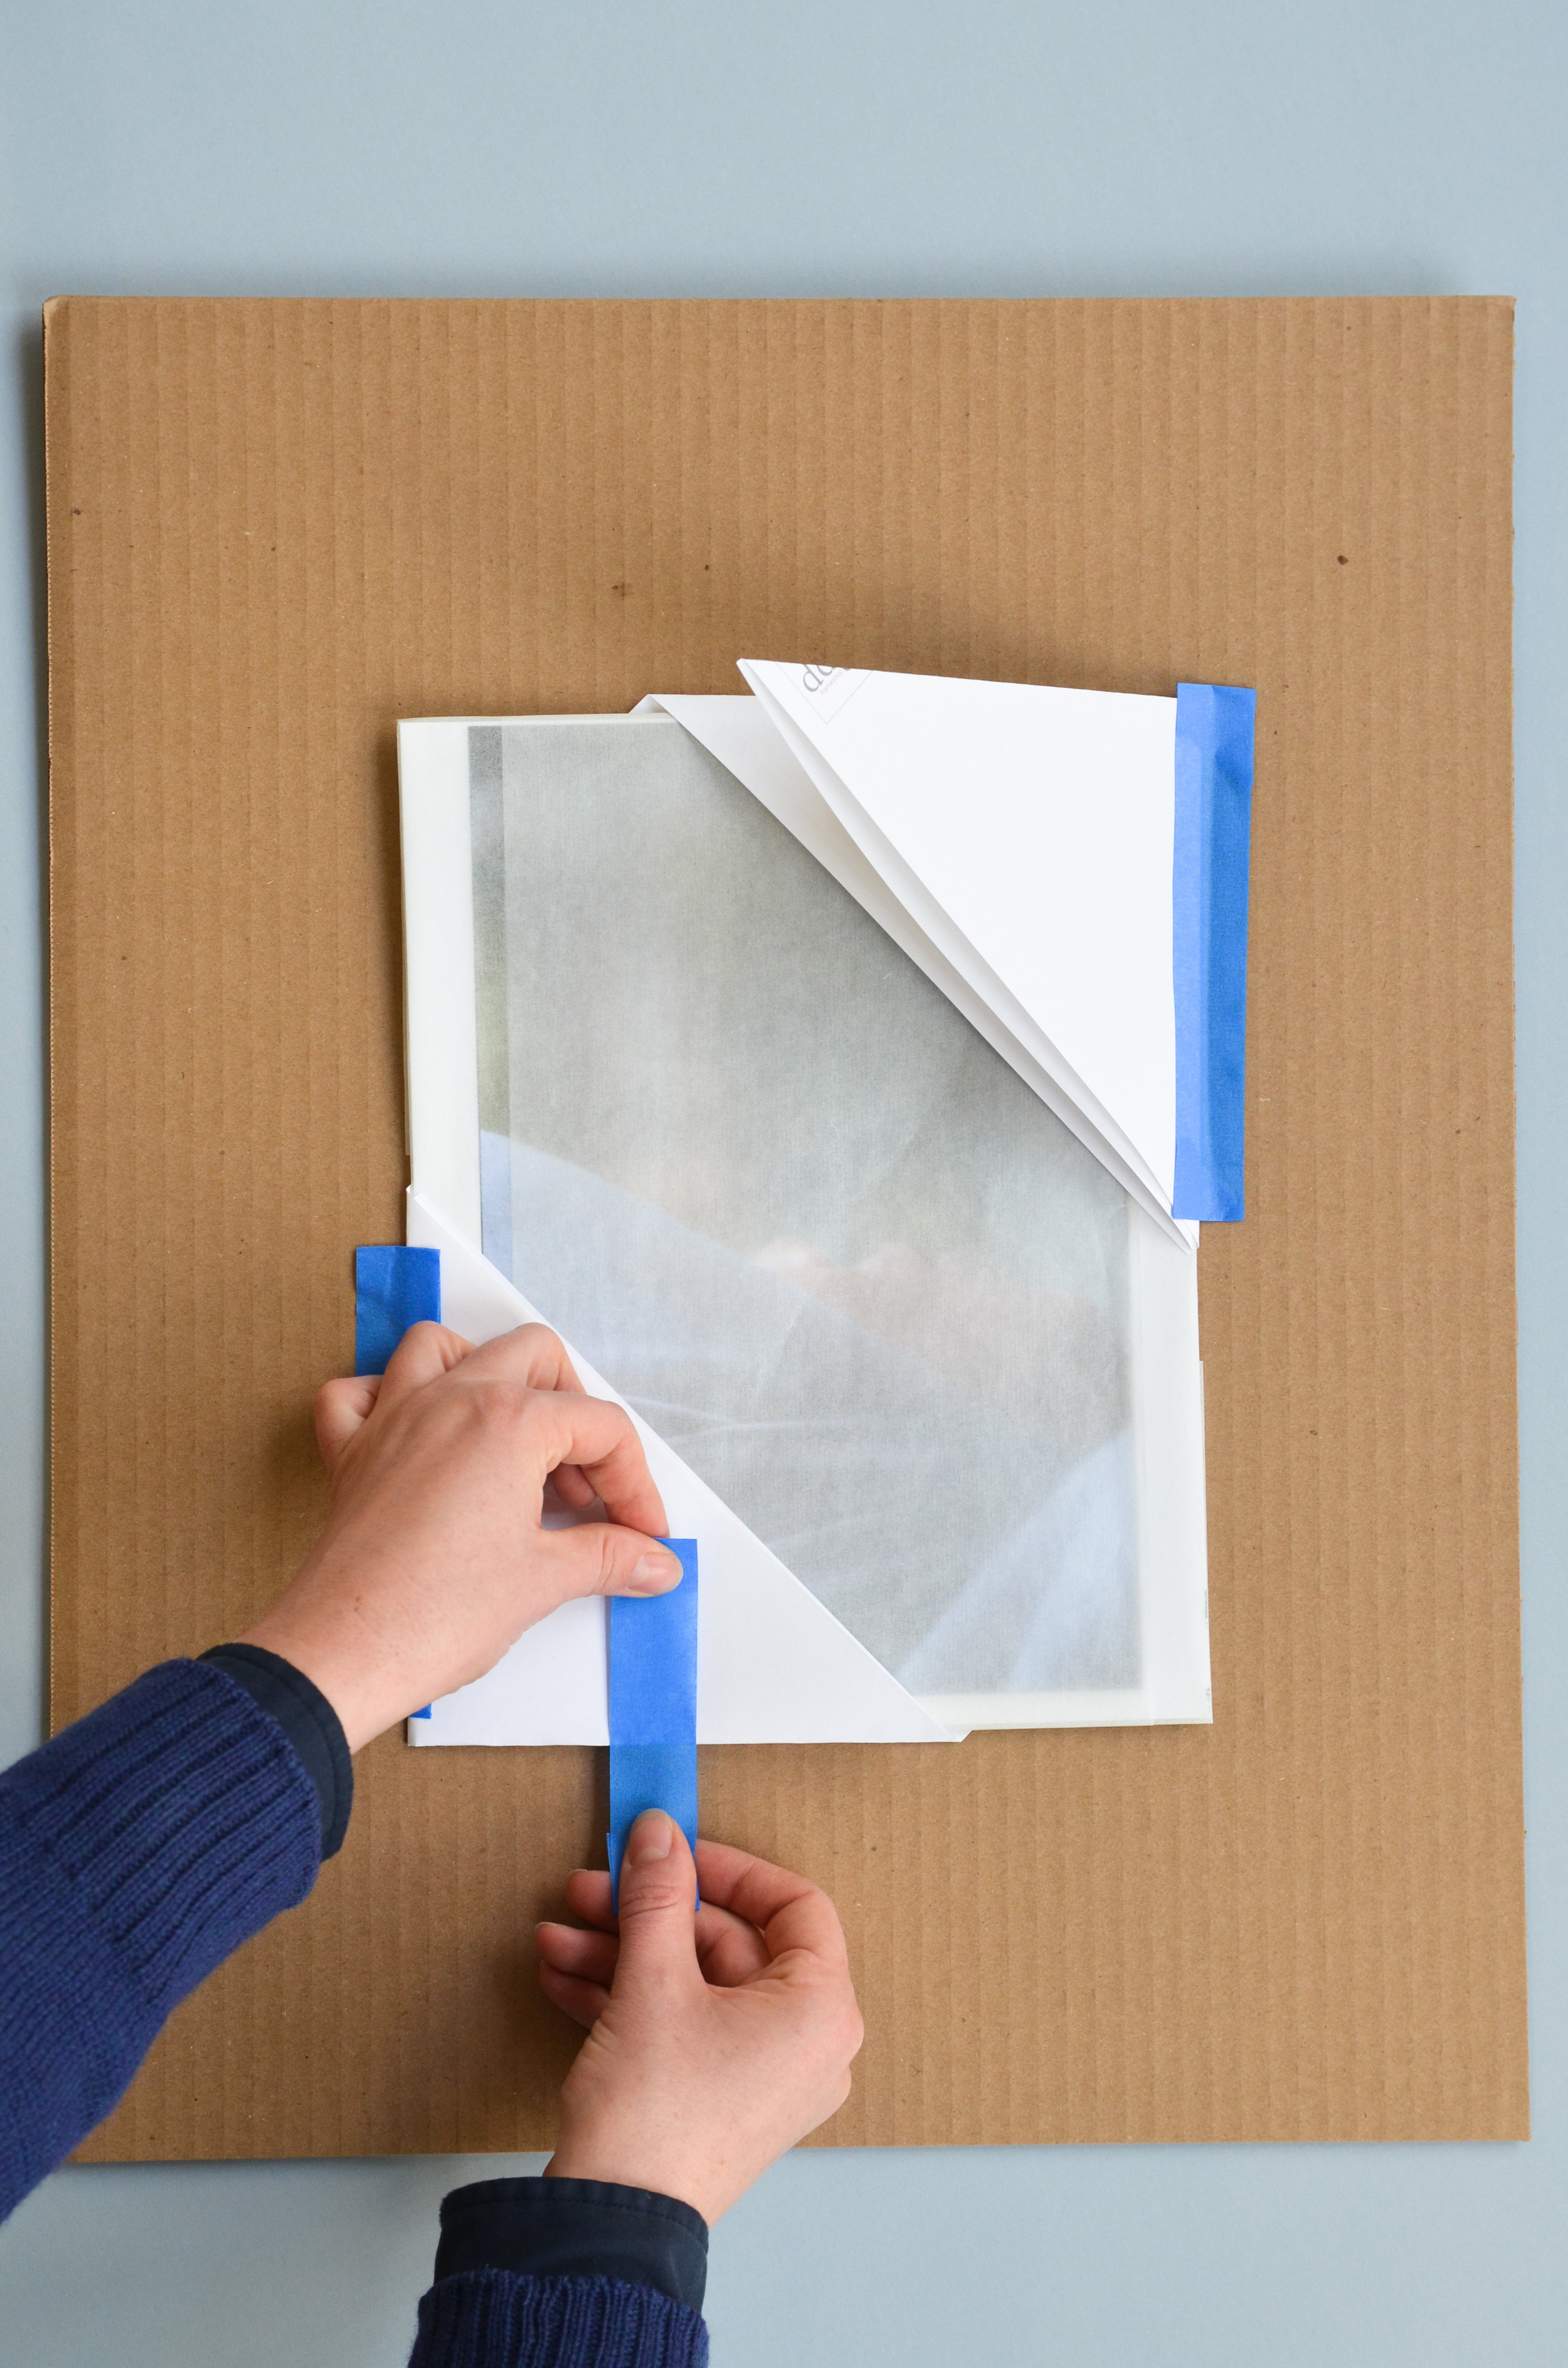
Step 6) Cut two pieces of identically sized cardboard. The cardboard should be cut to give at least a 3" boarder all around the artwork. This is important for a few reasons: A - Its safer when opening the tape with a knife/blade, B - It eliminates the potential damage from crushed edges, and C - it allows the final package to be twined for easy transport. Center the artwork in the middle of the cardboard with the face towards the front.

Step 7) Locate your corners and place them on opposite sides of the artwork. Make sure the corners of the artwork placed in the bottom pocket of the folds. For a piece this size, two corners are great. For larger pieces or for things traveling longer distances, the more corners the better.

Step 8) Tape corners into place. On the edge of the corner that is one fold, place tape along entire seam. On the edge of the corner that has two folds, place tape perpendicular to edge.
You can see tape in place in the photo below. You'll notice the ends of the tape are folded in, allowing the tape to be easily lifted for hassle free removal. These are called 'courtesy tabs'.

Tada! Easy access! This method of cornering requires only removing the perpendicular tape to reveal the artwork below.
Step 9) Place the other piece of cardboard on top of the cornered artwork. Tape around the edges to secure the cardboard pieces together. The last (and maybe most important) step is to thoroughly label! Write your name and clearly let others know that artwork is present. You can never over label :) We like to finish off our packages with the word 'face'. This way anyone that opens it will know what side is up to prevent any damage.

And there you go! You now know an easy and secure way to wrap your artwork when traveling from your home to DDG Frameshop.